
Last updated November 2, 2026
 Wrought iron
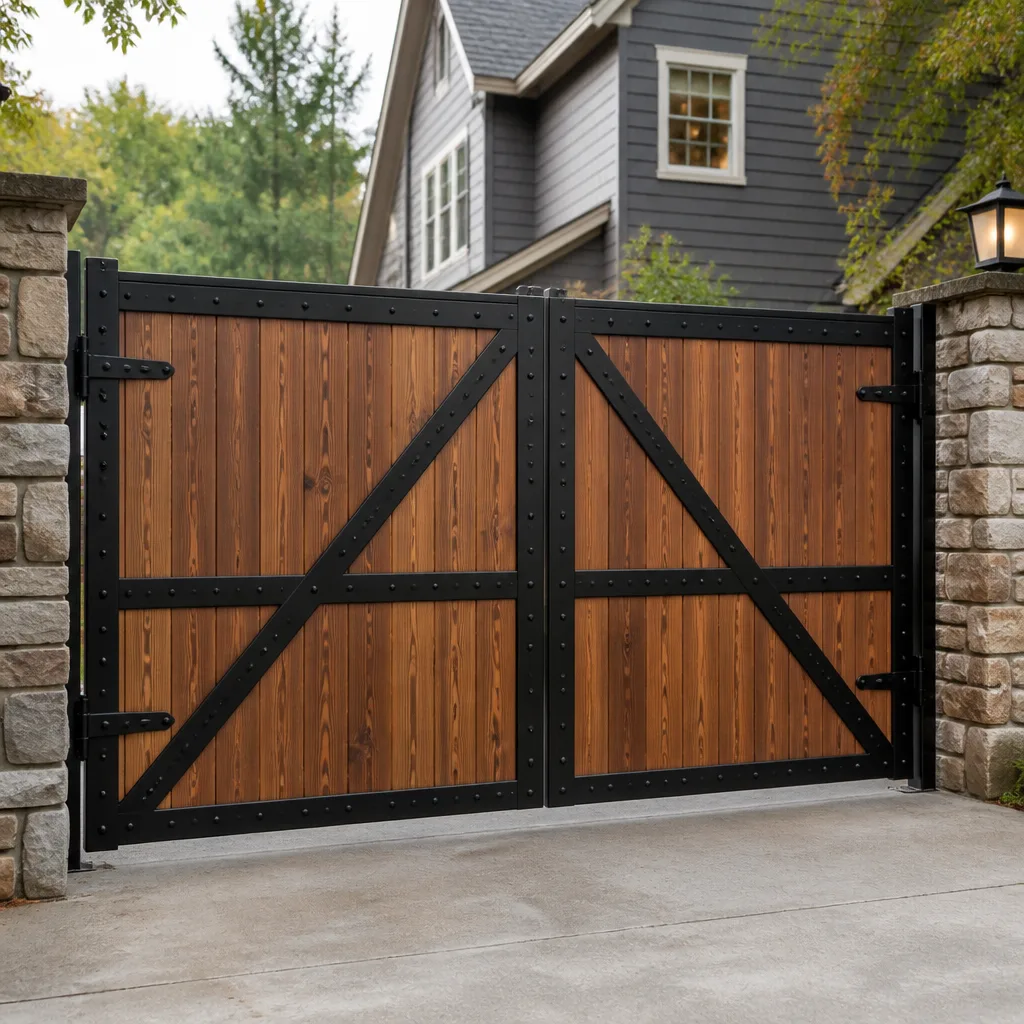 Wood & steel frame
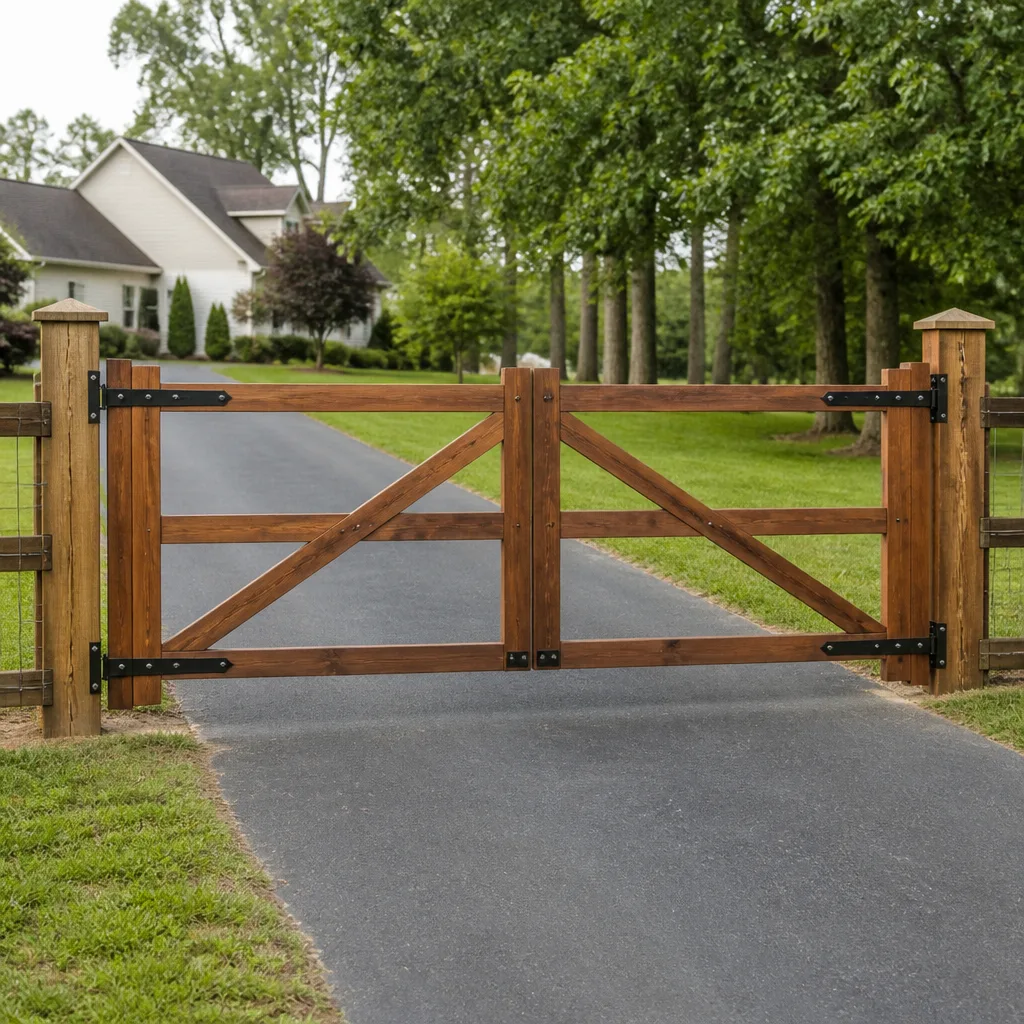 Farm & ranch
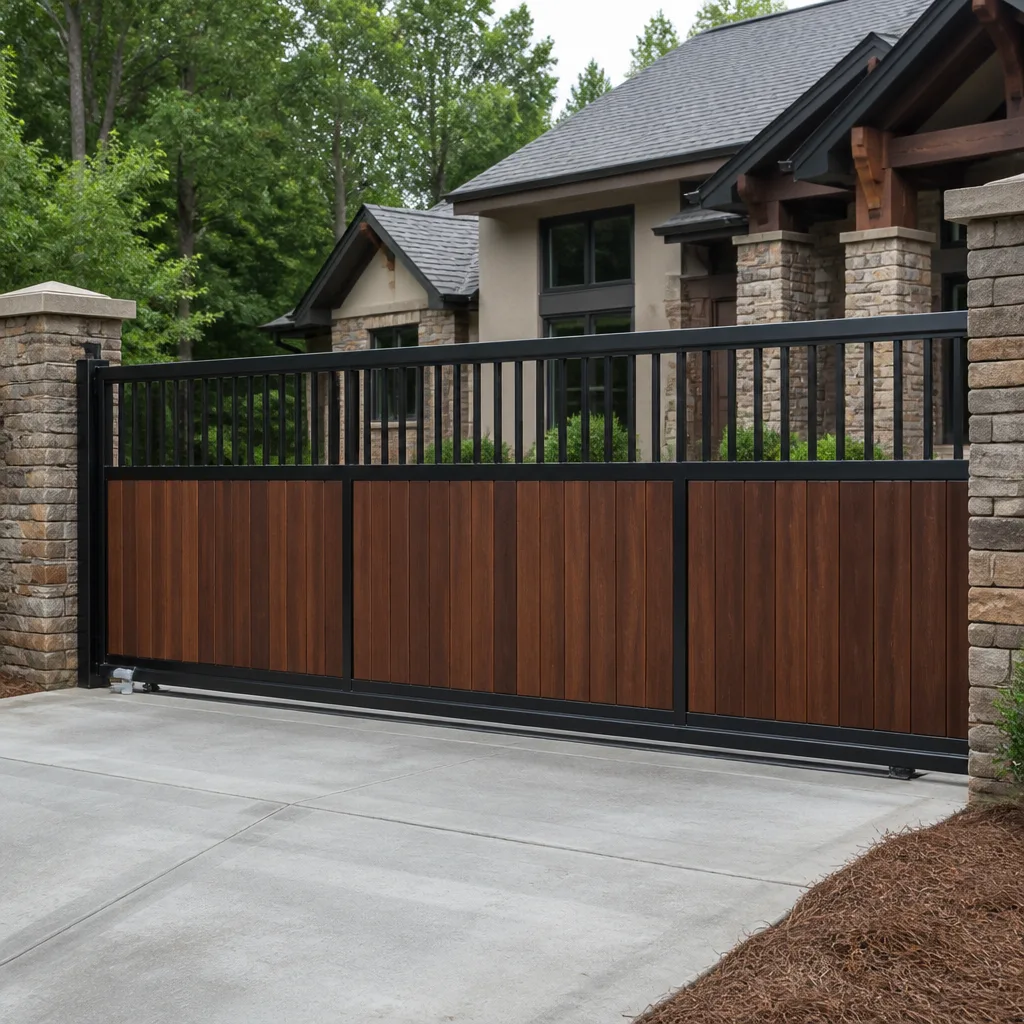 Sliding driveway gates
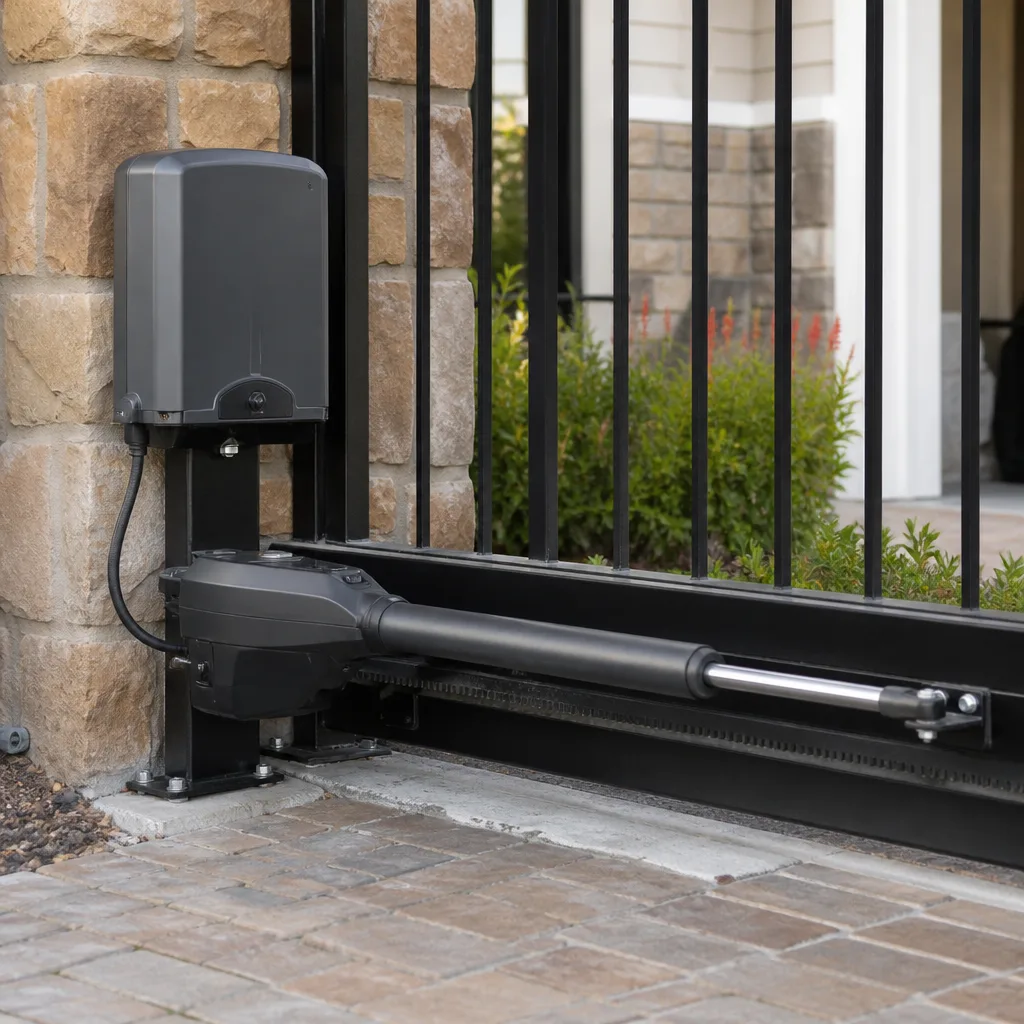 LiftMaster operators
Free on-site gate assessment - hinges, posts, and your LiftMaster or Nice gate operator checked before anything is quoted
The assessment is free and the quote is the invoice.
Get your free estimateGate Repair Troubleshooting: Common Problems and How to Fix Them
Replacing a gate motor when the real problem is a misaligned safety loop sensor is a $400 mistake that happens constantly. We see it in Whittier driveways every month: a homeowner or handyman assumes the worst, swaps out a perfectly good operator, and the gate still won’t close. The truth is most gate failures are cheap fixes, bad connections, misaligned sensors, or batteries that quietly died. This guide walks you through a symptom-first troubleshooting method that saves money by testing the simple things before touching expensive components, and for issues beyond DIY fixes, our Gate Repair services are available.
Styles & brands we work with
- Wrought iron
- Wood & steel frame
- Farm & ranch
- Sliding driveway gates
- LiftMaster operators
Quick Answer
Gate repair troubleshooting starts with identifying the exact symptom: won’t open, won’t close, reverses mid-travel, makes noise without moving, or responds to some controls but not others. Most failures trace to five causes: power supply issues, remote or keypad problems, misaligned safety sensors, obstructed or broken safety loops, and degraded batteries. Work through the symptom decision tree below before replacing any part, because the cheapest fix usually solves it, and for Gate Repair Warning Signs: A Whittier Homeowner’s Reference Guide, see our detailed breakdown.
Table of Contents
- The Symptom-First Decision Tree
- Gate Won’t Open or Close at All
- Gate Opens but Won’t Close
- Gate Reverses Mid-Travel
- Gate Makes Noise but Doesn’t Move
- Remote Works but Keypad Doesn’t
- Testing Safety Loop Sensors and Photo Eyes
- Battery Backup Systems and Power Outages
- Brand-Specific Error Codes: LiftMaster, Viking, Mighty Mule
- The One Corroded Wire That Causes 80% of Intermittent Failures
- Common Mistakes to Avoid
- When to Call a Professional
- Frequently Asked Questions
- The Bottom Line
The Symptom-First Decision Tree
Gate systems are interdependent. A dead remote can mean a bad battery, a failed receiver board, or an obstructed safety loop, and the fix path is completely different for each. Generic online guides treat every symptom as an isolated part failure. That approach costs homeowners money. Here’s how to route your symptom to the right diagnostic path.
Start Here: Identify Your Exact Symptom
- Gate won’t open or close at all – go to power supply, outlet, breaker, and operator power switch checks in the next section.
- Gate opens but won’t close – go to the safety sensor and safety loop diagnostic path.
- Gate reverses mid-travel – go to obstruction, force setting, and safety edge checks.
- Gate makes noise but doesn’t move – go to chain, belt, gear, and capacitor checks.
- Remote works but keypad doesn’t – go to keypad programming and wiring checks.
- Gate works on one control but not another – go to receiver, wiring, and accessory input checks.
In Whittier, we see seasonal patterns too. Dry summers bring thermal expansion that stresses gearboxes and chains. Rainy winters expose corroded connections in conduit runs, especially on gates installed more than 10 years ago. Keep your specific symptom at the front of your mind and work one path at a time.
Gate Won’t Open or Close at All
A completely dead gate has one of three causes: no power reaching the operator, a tripped internal breaker or fuse, or a failed control board. The fix for the first is usually free. The fix for the third is usually not. Here’s the sequence we use on every dead gate service call in Whittier before we open the operator cover.
Step 1: Verify Wall Power
Make sure the operator’s power switch is on. It’s usually a small toggle or rocker switch on the operator box itself, and it gets bumped off more often than you’d believe. Check the outlet or hardwired circuit. Plug a lamp or tester into the outlet if it’s a plug-in unit. Check the breaker panel. If the breaker is tripped, reset it once. If it trips again immediately, you have a short, not a power outage, and that needs a pro.
Step 2: Check the Operator’s Internal Fuse
Many LiftMaster, DoorKing, and Linear operators have a small glass or blade fuse on the control board. Unplug the operator before opening the cover. If the fuse is blown, replace it with the exact same rating. A blown fuse usually means something caused it to blow: a shorted wire, a failed capacitor, or a surge. Replacing the fuse without finding the cause may work for a day or a week, then fail again.
Step 3: Test the Control Board Power LED
Most modern operators have a power indicator LED on the control board. If it’s dark when power is confirmed at the outlet, the board is likely dead. But before you order a board, check the transformer’s secondary voltage. A failed transformer is a $40 fix that is often misdiagnosed as a $300 control board. We test transformer output on every dead board call. It saves our Whittier customers real money.
If all three steps check out and the gate is still dead, you’re looking at a control board or motor failure. That’s the point where electric gate repair in Whittier stops being a DIY project and starts being a technician job.
Gate Opens but Won’t Close
This is the most common gate complaint we hear, and it’s usually not the motor. A gate that opens fine but refuses to close almost always traces to a safety device: a photo eye, a safety edge, or a loop detector. These devices exist to prevent the gate from closing on a car, a child, or a pet. When they malfunction, they tell the control board “something is in the way” even when nothing is.
Check the Photo Eye First
Photo eyes are the small sensors mounted on either side of the gate opening, usually a few inches off the ground. They shoot an invisible infrared beam across the opening. If that beam is blocked, misaligned, or dirty, the gate will not close. Here’s what to do:
- Clean both lenses with a soft dry cloth. Whittier’s dry, dusty climate leaves a fine film on sensor lenses that blocks the beam.
- Check alignment. Both sensors should face each other directly. A small bump from a car or a lawnmower can knock one out of alignment.
- Look at the indicator lights. Most photo eyes have an LED. A solid green or red usually means aligned and clear. A blinking light means misaligned or blocked.
- Check the wiring at both sensors for loose or corroded terminals.
Check the Safety Loop Detector
Most automatic gates in Whittier have a loop detector wired to a wire loop buried in the driveway. The loop detects the metal mass of a car. If the loop detector is stuck in a “vehicle present” state, the gate will open but refuse to close because it thinks a car is sitting on the loop. Power-cycling the loop detector sometimes clears a stuck state. If it doesn’t, you may have a loop wire break, which requires a loop tester to diagnose.
Check the Safety Edge
If the gate has a rubber safety edge on the leading edge, that edge contains a pressure-sensitive strip. When the strip is compressed, it tells the board to stop and reverse. A damaged or pinched safety edge can fail in the “pressed” state. Inspect the full length of the edge for cuts, kinks, or pinch points. A damaged edge needs replacement, which is a straightforward job for a gate technician.
If the gate still won’t close after these checks, the problem may be in the board’s safety input circuit. That requires a multimeter and a service manual. The team at Capitol Gate Repair in Whittier handles this exact diagnosis regularly.
Gate Reverses Mid-Travel
A gate that starts to close, then reverses and opens again, is doing one of two things: detecting an obstruction or exceeding its force limit. Finding which one separates a five-minute fix from a real repair.
Check for Physical Obstruction First
Walk the full travel path of the gate. Look for rocks, debris, vegetation, or a warped track or rail. In Whittier, where many homes sit on hillsides, we often find small stones that roll onto the track after rain. Remove anything you find and test the gate again.
Check the Force Setting
Every automatic operator has a force adjustment. It controls how much resistance the motor will push through before it reverses. If the force setting is too low, normal friction from wind or minor track wear will trigger the reverse. Adjust the force slightly upward in small increments, but don’t crank it to maximum. A force setting that is too high is dangerous. It turns the gate itself into a hazard because it will push through real obstructions instead of reversing.
Check the Limit Switches
On older operators, mechanical limit switches tell the gate where to stop. If a limit switch is failing, the gate may not know it reached the closed position, and it may cycle back open. On newer operators, limits are set electronically. A power surge can wipe limit settings, and the gate will behave erratically until the limits are reprogrammed.
Repeated mid-travel reversal can also indicate a failing capacitor on single-phase motors. The capacitor provides the starting torque. When it weakens, the motor struggles to complete travel and the board reverses the gate. Capacitor replacement is inexpensive and often fixes what looks like a motor problem.
Gate Makes Noise but Doesn’t Move
When the operator hums but the gate doesn’t move, you’re hearing the motor trying to work against a mechanical failure. The most common culprits are a stripped drive gear, a broken chain or belt, a disengaged manual release, or a failed capacitor. Here’s how to tell which one it is.
Check the Manual Release
Every automatic gate operator has a manual release, usually a pull handle, a keyed release, or a small lever on the operator. If the release was pulled, either intentionally or by accident, the motor will turn but the gate won’t move because the operator is disengaged from the drive. Re-engage the release per the manufacturer’s instructions and test again. This is the fix in a surprising number of cases, especially after a power outage when someone manually opened the gate and forgot to re-engage it.
Listen to the Type of Noise
A loud grinding or clicking noise usually means a stripped gear. A rhythmic slapping noise usually means a broken chain or belt. A low hum with no movement at all usually means a failed start capacitor or a seized motor. Each of these is a specific repair, and none of them requires replacing the entire operator if caught early.
Inspect the Chain or Belt
On chain-drive operators, look for a broken link or a chain that has jumped the sprocket. On belt-drive operators, look for a snapped or stripped belt. Chain and belt replacements are routine repairs that a gate specialist can complete on-site without replacing the operator.
Inspect the Drive Gear
Many residential operators, especially from Linear and Ghost Controls, use a plastic drive gear that is designed to fail before the motor burns out. When the gear strips, the motor spins freely and the gate doesn’t move. Replacing the gear is a $30 to $80 part and about an hour of labor. Replacing the entire operator would be hundreds more and completely unnecessary.
Remote Works but Keypad Doesn’t
A keypad that stops working while the remote still opens the gate is never a control board problem. The board is fine. The issue is isolated to the keypad itself or its wiring. Start with the obvious and work down.
Step 1: Check the Keypad Battery
Wireless keypads run on a small battery, usually a 9-volt or a couple of AA or AAA batteries. A low battery causes exactly this problem: the remote still works because it has its own battery, but the keypad dies quietly. Replace the keypad battery first. In Whittier’s hot summers, batteries degrade faster than expected, especially in direct sun exposure.
Step 2: Reprogram the Keypad
Keypads are programmed to the operator’s receiver. A power surge or a receiver reset can wipe the keypad code while leaving the remote’s code intact. Reprogram the keypad using the operator’s “learn” button and the keypad’s programming sequence. Every brand does this differently. Check your operator’s manual for the exact sequence.
Step 3: Check the Keypad Wiring
For hardwired keypads, check the wire run from the keypad to the operator. Look for cuts, staples through the wire, and corrosion at the terminal connections. In Whittier, we see a lot of keypad wire run along stucco walls and through unsealed conduit, where moisture intrusion corrodes the low-voltage connections over time. A corroded keypad wire terminal causes intermittent failures that are maddening: the keypad works sometimes and not others.
If the keypad battery and programming check out and the wiring tests clean, the keypad itself is likely dead. Replacement keypads are inexpensive and can be matched to most operators, including LiftMaster, DoorKing, and Viking systems.
Testing Safety Loop Sensors and Photo Eyes
Safety devices cause more misdiagnosis than any other gate component. Homeowners replace control boards, remotes, and even motors when the actual problem is a $45 photo eye or a $75 loop detector. Here’s how to test these components properly before spending real money.
Testing a Photo Eye with a Multimeter
Photo eyes on most operators are wired with four conductors: two for power and two for the relay signal. The relay signal changes state when the photo eye’s beam between the transmit and receive units is interrupted. Set your multimeter to continuity. Place it on the signal wires at the control board. Block the beam with your hand. You should see the continuity state change. If it doesn’t change, the photo eye is misaligned, wired wrong, or dead.
- Confirm the photo eye has power. Most run on 12 to 24 volts AC or DC. Check the voltage at the photo eye terminals.
- Confirm the beam is aligned. Look for the indicator LEDs and adjust the aim until they read aligned.
- Test the signal change at the board. If the board never sees the signal change, the wiring between the photo eye and the board is the problem, not the board.
Testing a Safety Loop Detector
A loop detector is a small module, usually mounted on the operator or inside the control box, with a set of LED indicators. When a car enters the loop, the detector LED changes state and the gate holds open or reverses. To test a loop detector:
- Watch the detector’s LED while the gate is idle. A solid LED often means the loop is seeing a vehicle or the detector is stuck.
- Drive a car over the loop and watch the LED. It should change state immediately.
- If the LED never changes, the loop wire in the driveway may be broken. A loop tester can confirm continuity.
- If the detector is stuck in “detect” mode with no car present, power-cycle the detector. If it stays stuck, replace the detector.
Loop wire breaks require saw-cutting the driveway and splicing in new wire. It’s not a DIY weekend job. We do these repairs in Whittier regularly, and the cost is far lower than most homeowners expect when the break is caught early.
Testing a Safety Edge
Most safety edges are resistive or pneumatic. They use a sensing strip that changes resistance or pressure when compressed. Test the edge by pressing along its full length while watching the operator’s safety input. The gate should reverse or refuse to start when the edge is pressed. If the edge is non-responsive, check the wire to the edge, then replace the edge if the wire tests clean.
Battery Backup Systems and Power Outages
A gate that works fine on wall power but dead during an outage has a degraded backup battery. It’s one of the most overlooked components, because nobody thinks about the backup until they need it. Then the gate won’t open and the car is stuck inside the property.
Why Backup Batteries Fail Silently
Backup batteries are typically sealed lead-acid batteries, the same chemistry as a car battery but smaller. They last three to five years in most climates. In Whittier’s heat, that lifespan trends shorter. The battery sits inside the operator cabinet, charging continuously, and one day it simply can’t hold enough charge to move the gate. The operator still works on wall power, so the problem is invisible until an outage hits.
Southern California Edison outages in Whittier aren’t every-week events, but they happen, and a gate without a working backup battery becomes a manual-lift situation at the worst possible time. When we inspect an electric gate system, we always check the backup battery date and test it under load, because a battery that reads 12.8 volts with no load can still collapse under motor draw.
How to Extend Backup Battery Life
- Keep the operator cabinet clean and dry to reduce terminal corrosion.
- Replace the battery proactively every three to four years, not when it dies.
- Test the gate on battery power twice a year by cutting the wall power and cycling the gate.
- Make sure the operator’s charge circuit is working. A dead charge circuit kills a new battery in weeks.
If the gate runs slowly on battery power but fine on wall power, the battery is weak but not dead. Replace it soon. A weak battery forces the motor to run at lower voltage, which generates more heat and shortens motor life. The battery is cheaper than the motor.
Brand-Specific Error Codes: LiftMaster, Viking, Mighty Mule
Every operator brand reports problems differently. Generic guides never cover the error code differences, which means a homeowner with a Viking system is left staring at a blinking LED with no idea what it means; for more guides & resources, explore our blog. Here are the codes and quirks we see most often across three of the most common residential brands.
LiftMaster Error Codes
LiftMaster operators use a diagnostic LED that flashes in patterns. The number of flashes corresponds to a specific fault. The most common we see on gates in Whittier:
- 1 flash: Limit switch fault or bound gate. The gate encountered resistance before reaching its limit.
- 3 flashes: Safety device obstruction. Check photo eyes and safety edges.
- 5 flashes: Motor overload or failed capacitor.
- 6 flashes: Control board failure.
On LiftMaster swing and slide operators, the board also stores a fault history. A technician can read the last several faults to see whether the current problem is a pattern or a one-off event.
Viking Error Codes and Quirks
Viking operators, common on commercial and larger residential gates, use an alphanumeric display or a series of status LEDs on the control board. The most common Viking issue we see is not a board fault but a limit sensor failure. Viking limits are often magnetic reed switches mounted near the gate travel path. When the magnet that triggers the reed switch shifts or falls off, the gate overruns its limit and faults out. The fix is mechanical, not electronic: reposition the magnet and reset the limits.
Viking operators also have a separate overload relay on many models. A tripped overload relay stops the gate cold and looks like a dead board. Resetting the overload relay is a 10-second fix that requires no parts.
Mighty Mule Error Codes and Quirks
Mighty Mule is the entry-level workhorse of residential swing gates. Its diagnostic method is different: the operator beeps a number of times through its built-in buzzer. The beep count maps to a fault code in the installation manual.
- 2 beeps: Low battery or insufficient voltage.
- 3 beeps: Obstruction detected or force setting too low.
- 4 beeps: Remote not learned or receiver issue.
- Continuous beeping: Often a failed limit switch or a seized gearbox.
Mighty Mule systems are also sensitive to low voltage. They run on 12-volt batteries charged by a transformer, and when the transformer’s output declines, the system faults unpredictably. We replace more failing transformers than failing boards on Mighty Mule systems.
If you own a Capitol Gate Repair serviced brand like Mighty Mule, Viking, or Linear, the diagnostic sequence is brand-specific, and our technicians arrive already familiar with your system’s codes rather than learning them on the job.
The One Corroded Wire That Causes 80% of Intermittent Failures
Intermittent gate failures are the hardest to diagnose because everything works when the technician arrives. The gate opened fine this morning, failed at noon, and works again by dinner. This pattern, in our experience, is a wire issue far more often than a board issue, and the wire is almost always in the same place: inside the conduit where water has entered and corroded a splice or a connection.
Why Conduit Corrosion Happens
Low-voltage wire runs from the operator to the photo eyes, safety edges, keypad, and loop detector. That wire travels through conduit, either buried underground or run along walls and fences. Conduit is supposed to protect the wire, but over time, joints separate, seals fail, and water enters. In Whittier’s clay-heavy soils, buried conduit shifts with the ground movement between wet and dry seasons. Every shift puts stress on joints. Eventually, water gets in, and the corrosion begins.
The Symptom Pattern
A corroded splice or connection creates high resistance. High resistance causes voltage drop. Voltage drop causes the board to intermittently see a safety device as “open” or “faulted” when the connection heats up or moisture levels change. The result is a gate that fails during the hottest part of the day or after rain and works fine the rest of the time.
How to Find It
- Open every junction box in the system. Look for green or white corrosion on wire nuts and terminals.
- Pull gently on each wire connection. A corroded connection often crumbles or separates.
- Check the low-points of conduit runs. Water pools at the lowest point, so the worst corrosion is always there.
- Use a multimeter to check continuity on each conductor while flexing the wire. A conductor that has intermittent continuity is broken inside the insulation.
- If you find a wet conduit, correct the drainage problem before you fix the wire. Otherwise, you’ll be back in the same spot next season.
We find this exact problem in Whittier driveways year-round. The fix is usually under $200. The misdiagnosis, a replacement control board, costs triple that and doesn’t solve the problem.
Common Mistakes to Avoid
- Replacing the motor before testing the capacitor: A failed capacitor prevents the motor from starting and mimics a dead motor. Capacitors cost $20. Motors cost hundreds.
- Ignoring the photo eye alignment: A bumped photo eye is the single most common cause of “gate won’t close.” It takes two minutes to check and zero dollars to fix.
- Cranking up the force setting to fix a reversing gate: The force setting is a safety feature. Turning it up to force the gate through resistance turns the gate into a crush hazard. If the gate needs more force to move normally, something else is wrong.
- Replacing the backup battery with any 12-volt battery that fits: Gate operators need a deep-cycle or gate-rated sealed battery, not a generic alarm battery. The wrong battery fails in months.
- Ignoring a corroded wire because the gate works today: Corrosion never gets better on its own. The intermittent failure becomes a permanent failure at the worst possible time.
- Buying a universal remote before confirming the receiver frequency: Different brands and vintages use different frequencies. A universal remote doesn’t mean universally compatible.
- Assuming the gate operator is fine because the manual release fixed the problem: If you pulled the manual release to open the gate during an outage, re-engage it properly. A half-engaged release causes a stripped gear within weeks.
When to Call a Professional
Most of the checks in this guide are safe for a homeowner to perform. Some are not. If the problem involves a broken torsion spring on a swing gate, a high-tension chain, a control board swap that requires matching the exact revision board to your operator, or a loop detector that persists in faulting after new detectors and new loop wire, it’s time to call someone who works on gates every day. Gates are heavy, automated machinery under spring and motor tension. A gate that falls off its track or a spring that snaps under load can cause serious injury. Always leave spring and tension work to a trained gate technician.
Capitol Gate Repair offers free estimates in Whittier. Call (866) 321-3968 and describe the symptom. We’ll tell you honestly whether it’s a fix you can handle yourself or a job for our crew.
Frequently Asked Questions
Gate repair in Whittier typically runs $120 to $400 for most common issues including photo eye replacement, capacitor replacement, keypad programming, and drive gear replacement. Control board replacements and motor replacements run higher, usually in the $500 to $1,200 range depending on the brand and model. The price is always quoted and agreed before any work starts. Call (866) 321-3968 for an exact quote based on your operator brand and symptom.
In most cases, yes. The majority of Whittier gate failures we respond to are repaired on the first visit because the problem is a failed capacitor, a misaligned photo eye, a stuck loop detector, or a corroded connection rather than a major component failure. If a rare part has to be ordered, we tell you upfront and give you a clear timeline.
Put your ear to the operator. If you hear the motor hum or click when the gate should be moving, the problem is mechanical: a stripped gear, a broken chain, or a disengaged manual release. If you hear nothing at all, the problem is electrical: no power, a dead board, a bad fuse, or a failed capacitor.
We service nine major gate operator brands: LiftMaster, FAAC, BFT, Linear, Viking, Ghost Controls, DoorKing, Elite, and Mighty Mule. That brand range matters because each brand uses different error codes, different wiring conventions, and different parts. Our technicians work on these systems daily, so diagnosis is faster for a Whittier customer with any of these operators.
Intermittent gate failure is almost always a wiring or connection issue rather than a board failure. Corrosion inside conduit, a loose terminal, or a failing capacitor can cause intermittent behavior that changes with temperature and moisture. These issues never fix themselves and worsen over time. A diagnostic visit can find and fix the problem before it becomes permanent.
Yes, the manual release is designed exactly for that. Before pulling it, make sure the gate is not moving and no one is in the path of travel. After power returns, re-engage the release according to the manufacturer’s instructions. A half-engaged release will damage the drive gear. If your gate also has a backup battery system, test it during the next outage: a healthy backup should cycle the gate several times without wall power.
The Bottom Line
Gate repair troubleshooting works best when you treat the gate as a system, not as a collection of isolated parts. A dead remote, a reversing gate, or an intermittent failure is a clue that points to one of a handful of common causes: bad power, a dead capacitor, a misaligned sensor, a corroded wire, or a worn drive component. Test the cheap and accessible things first. Confirm the power. Clean and align the photo eyes. Reset the loop detector. Check the keypad battery. Replace the capacitor before you replace the motor. When the fix needs a multimeter and a brand-specific service manual, or involves springs and tension, call a Whittier gate specialist instead of guessing. The right fix is nearly always less expensive than the wrong replacement.
Written by the team at Capitol Gate Repair, serving Whittier since 2013.
See the difference
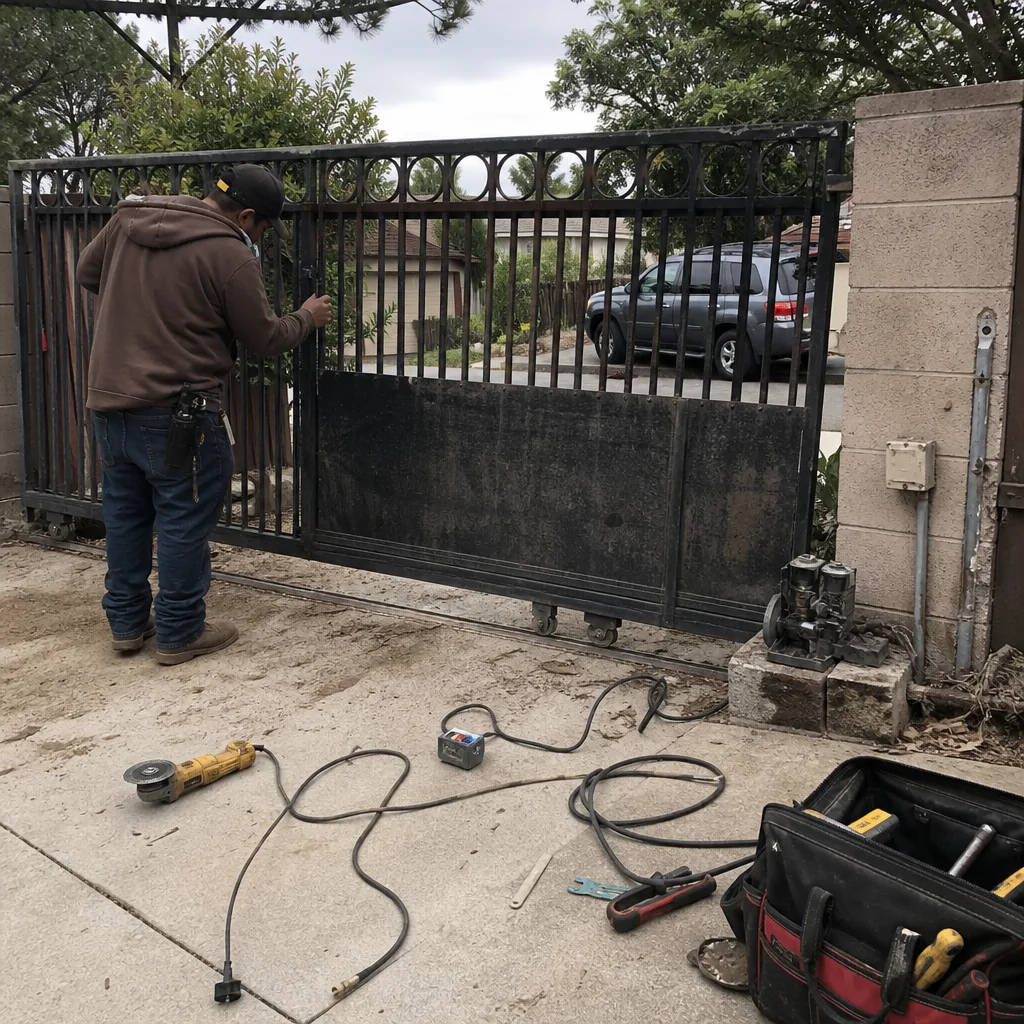 Before
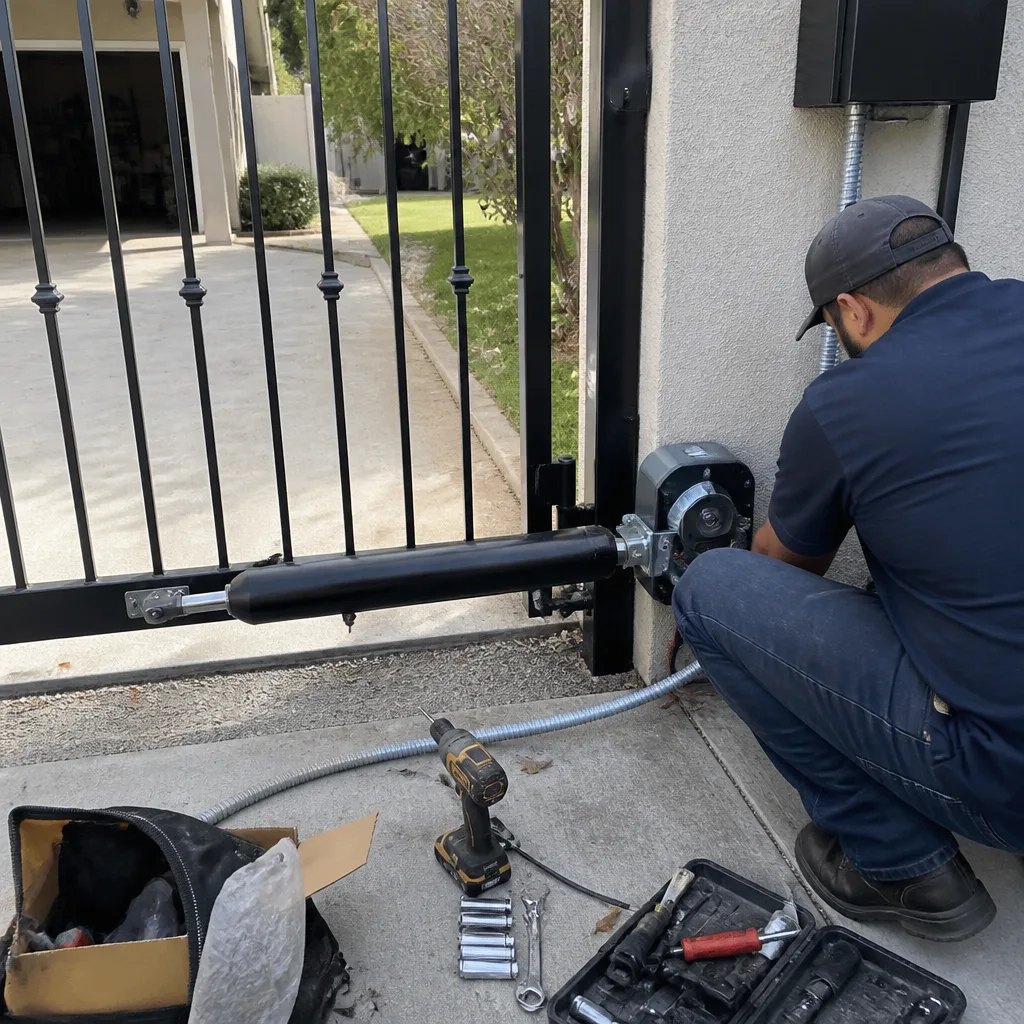 After
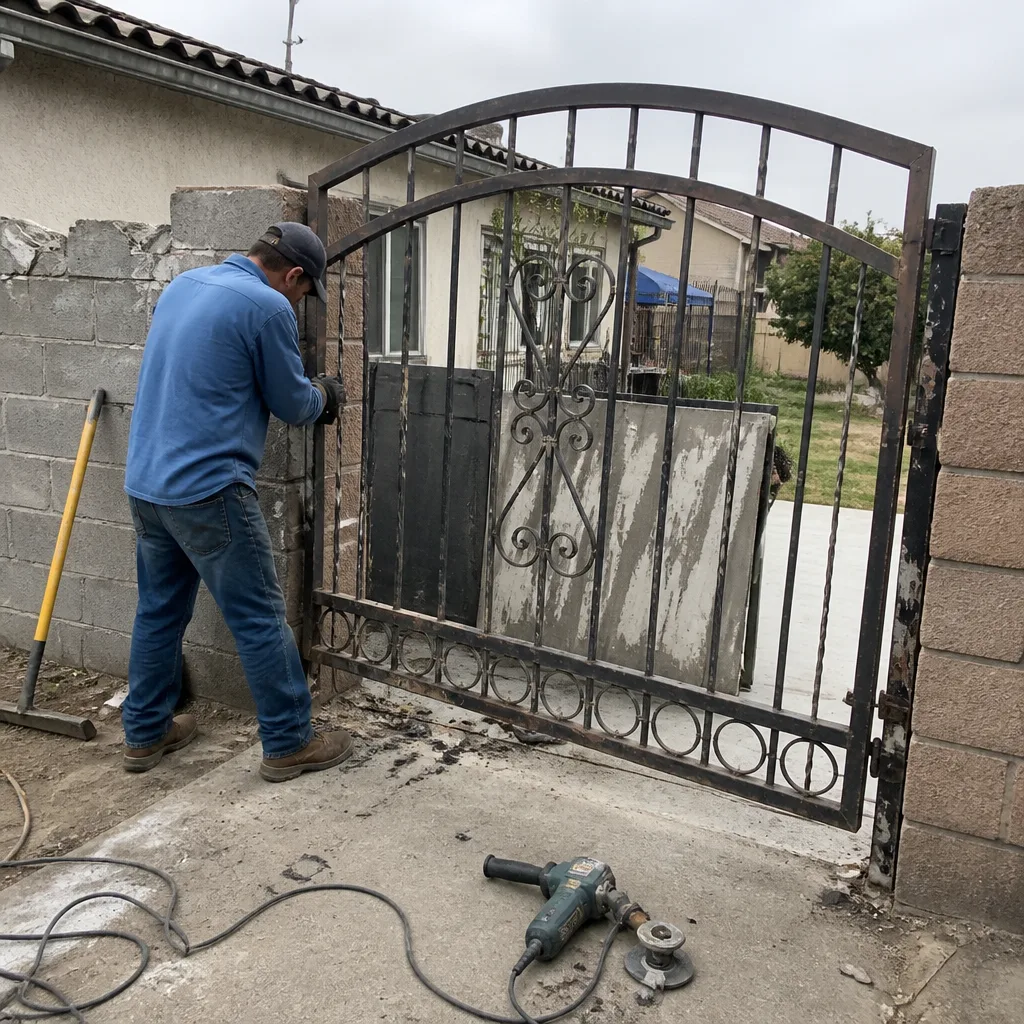 Before
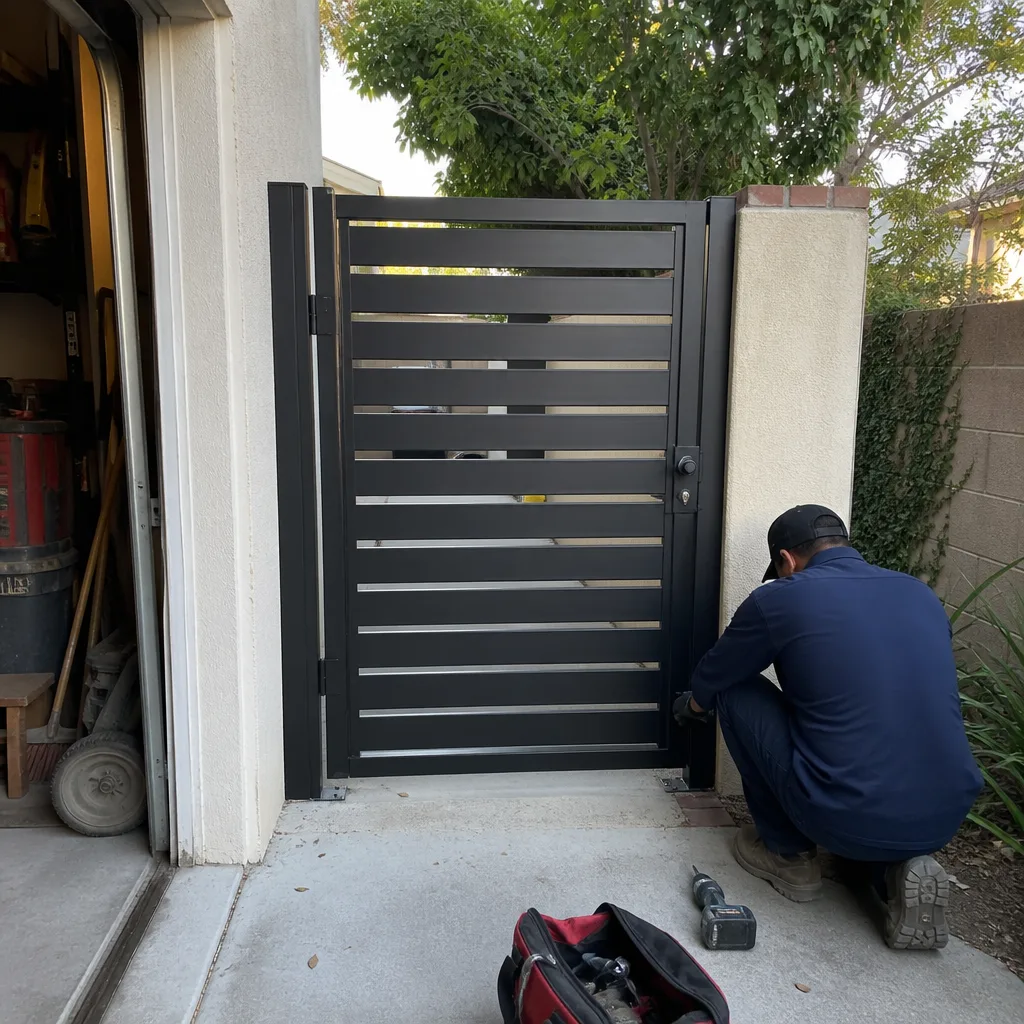 After
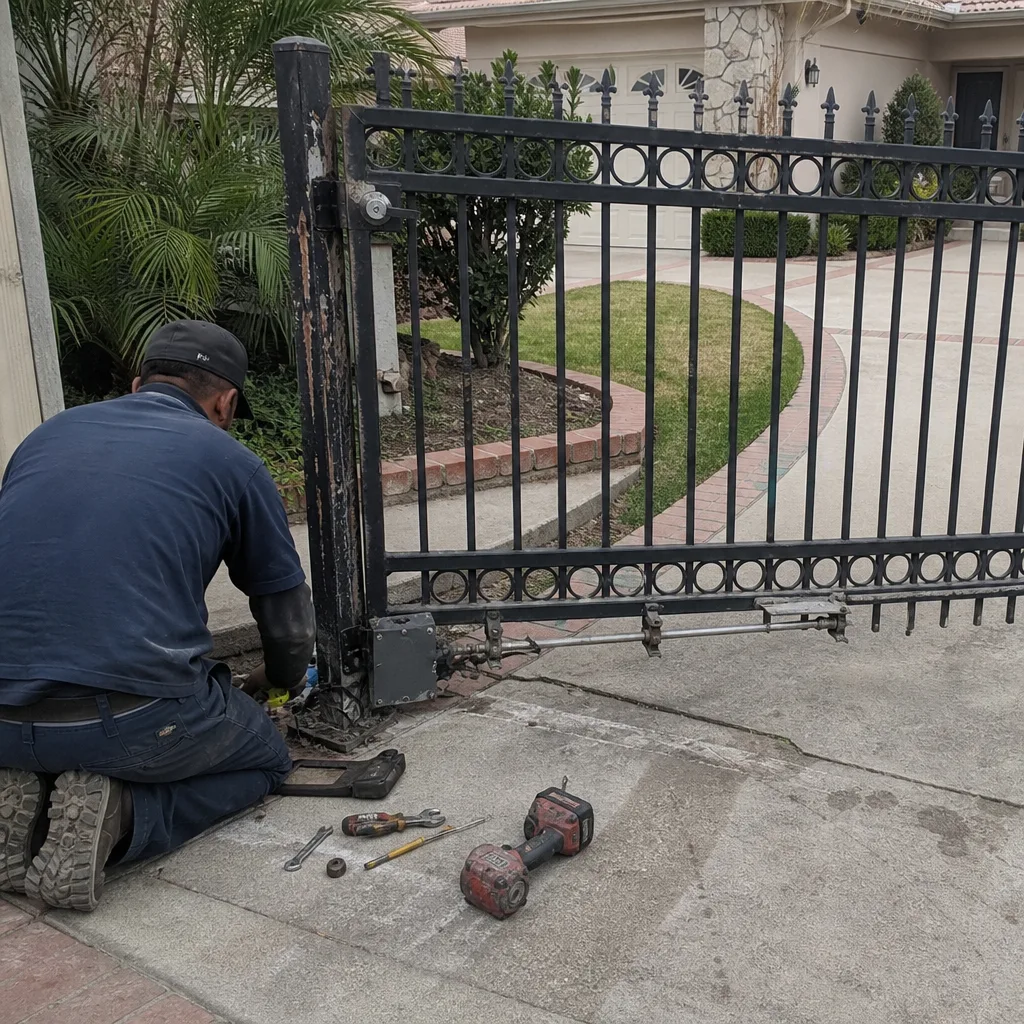 Before
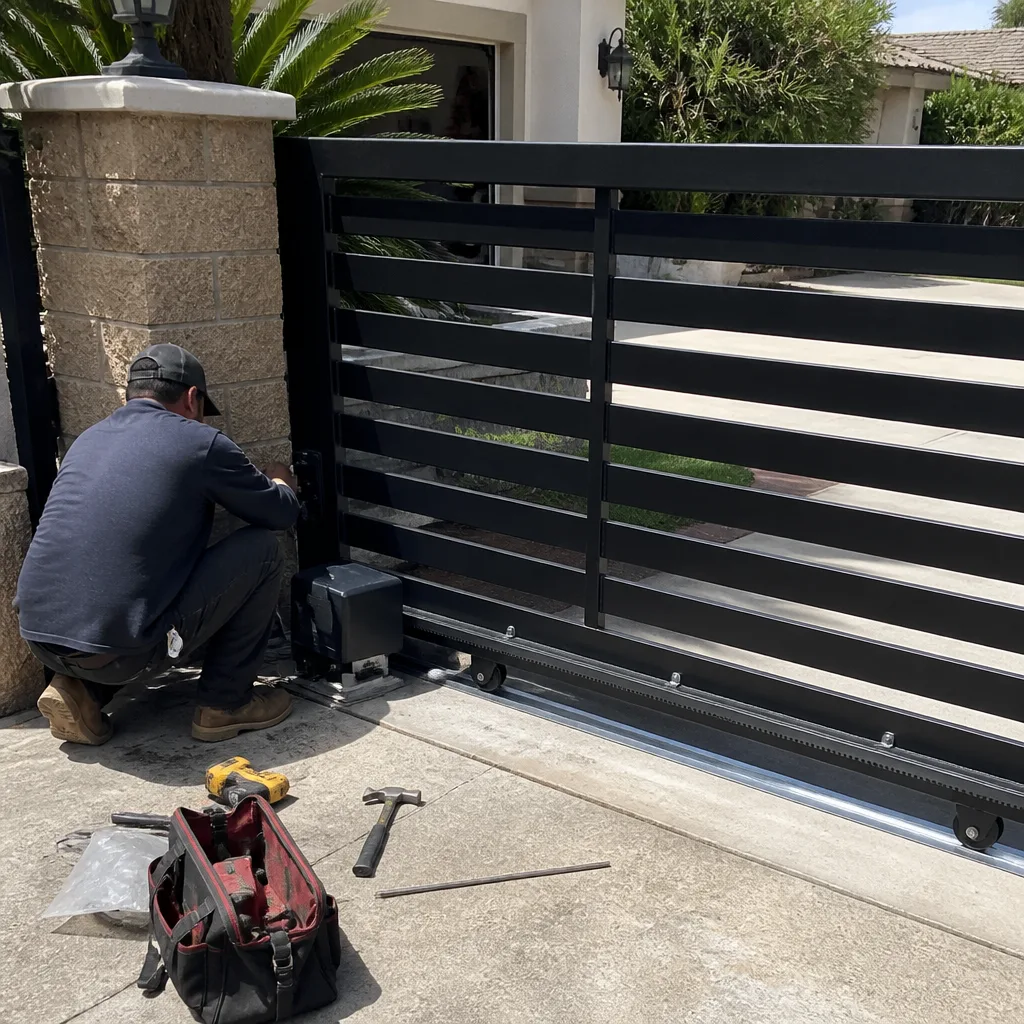 After