
Last updated November 2, 2026
 Wrought iron
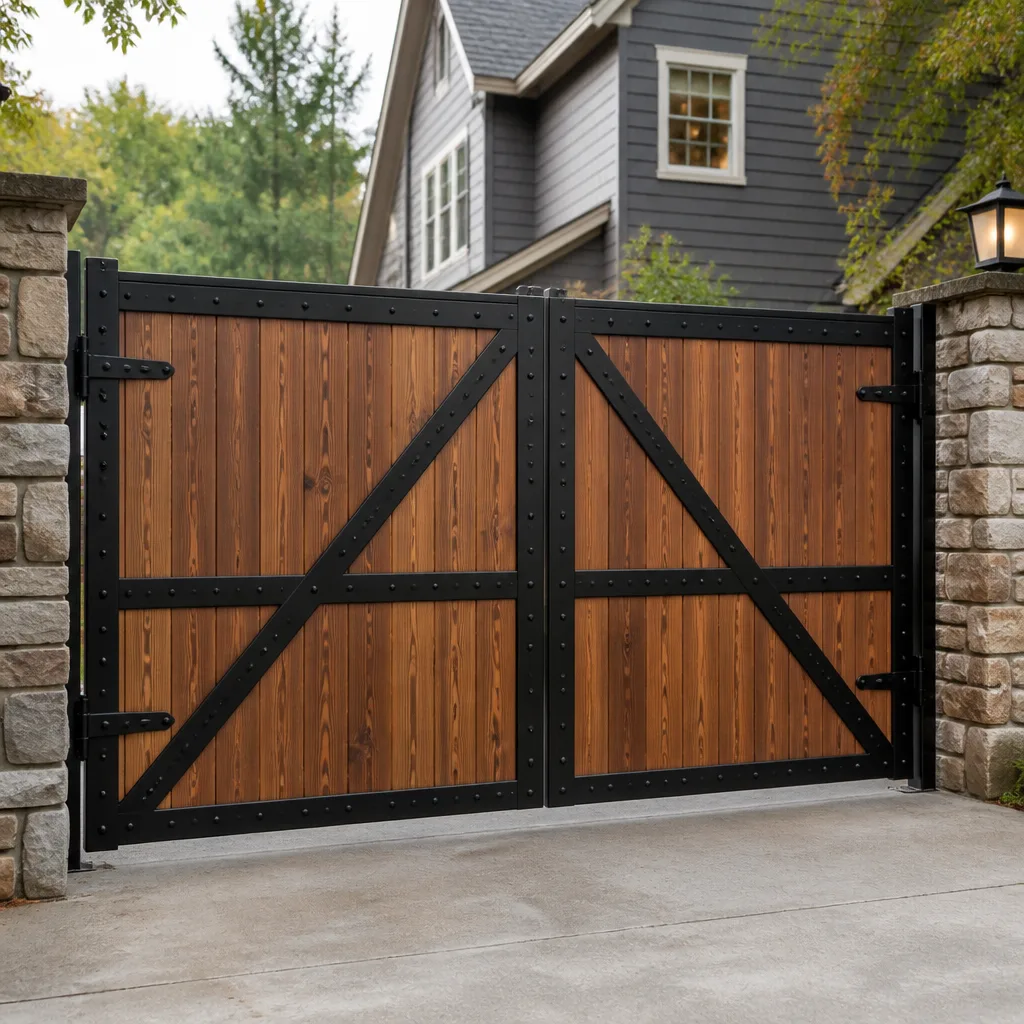 Wood & steel frame
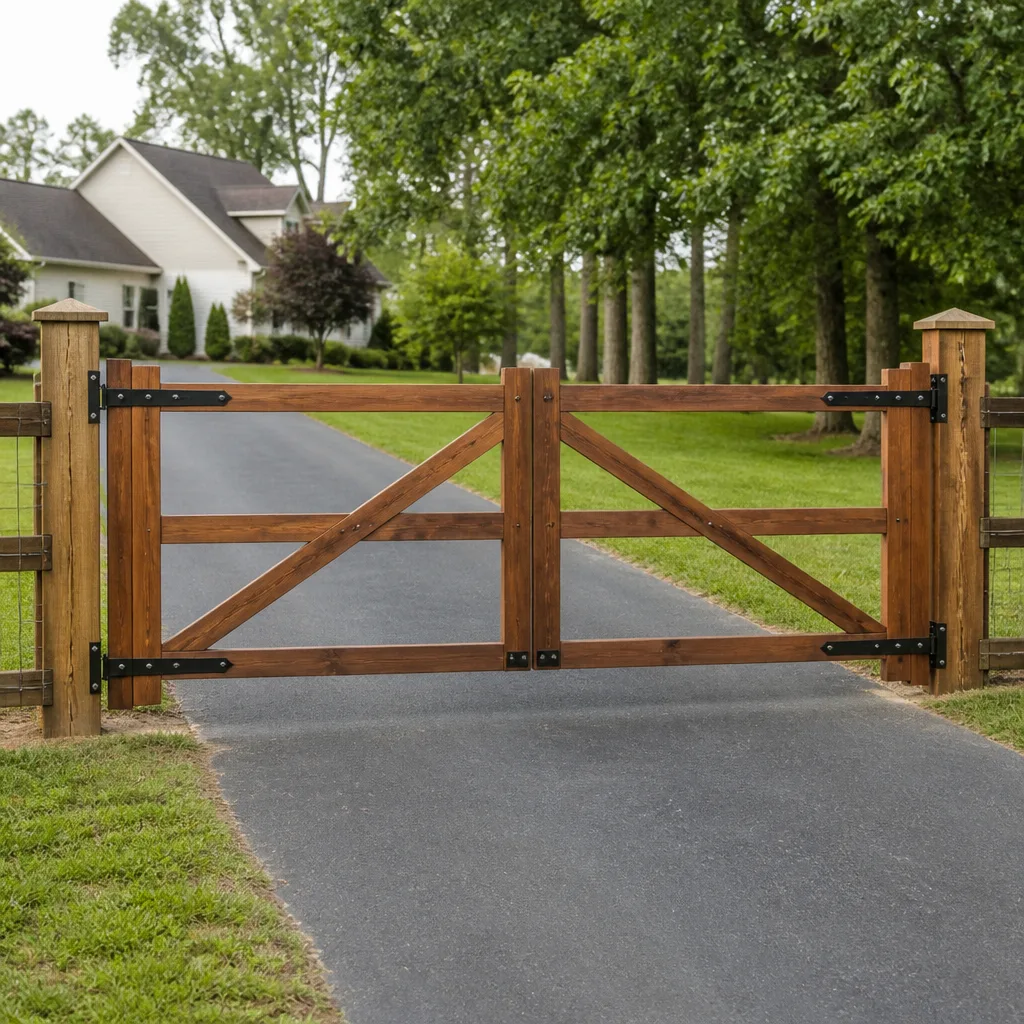 Farm & ranch
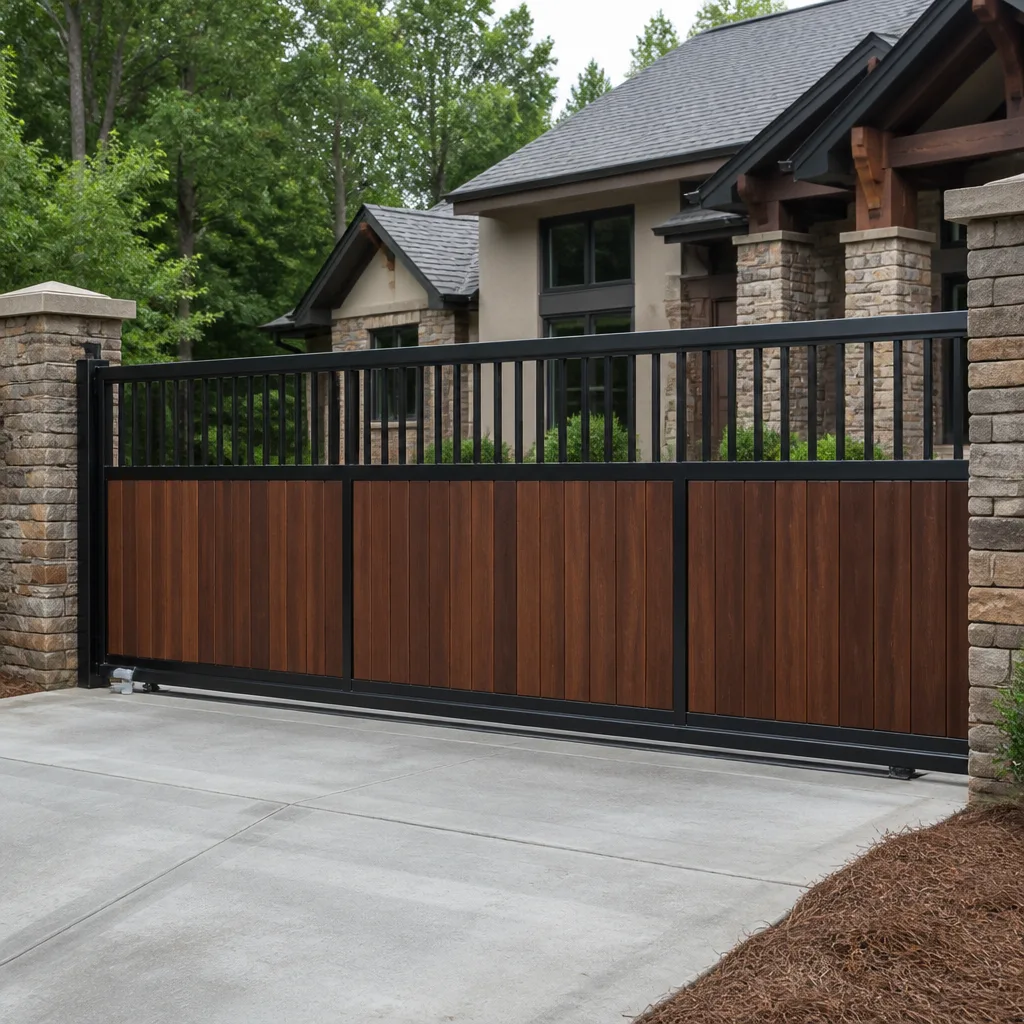 Sliding driveway gates
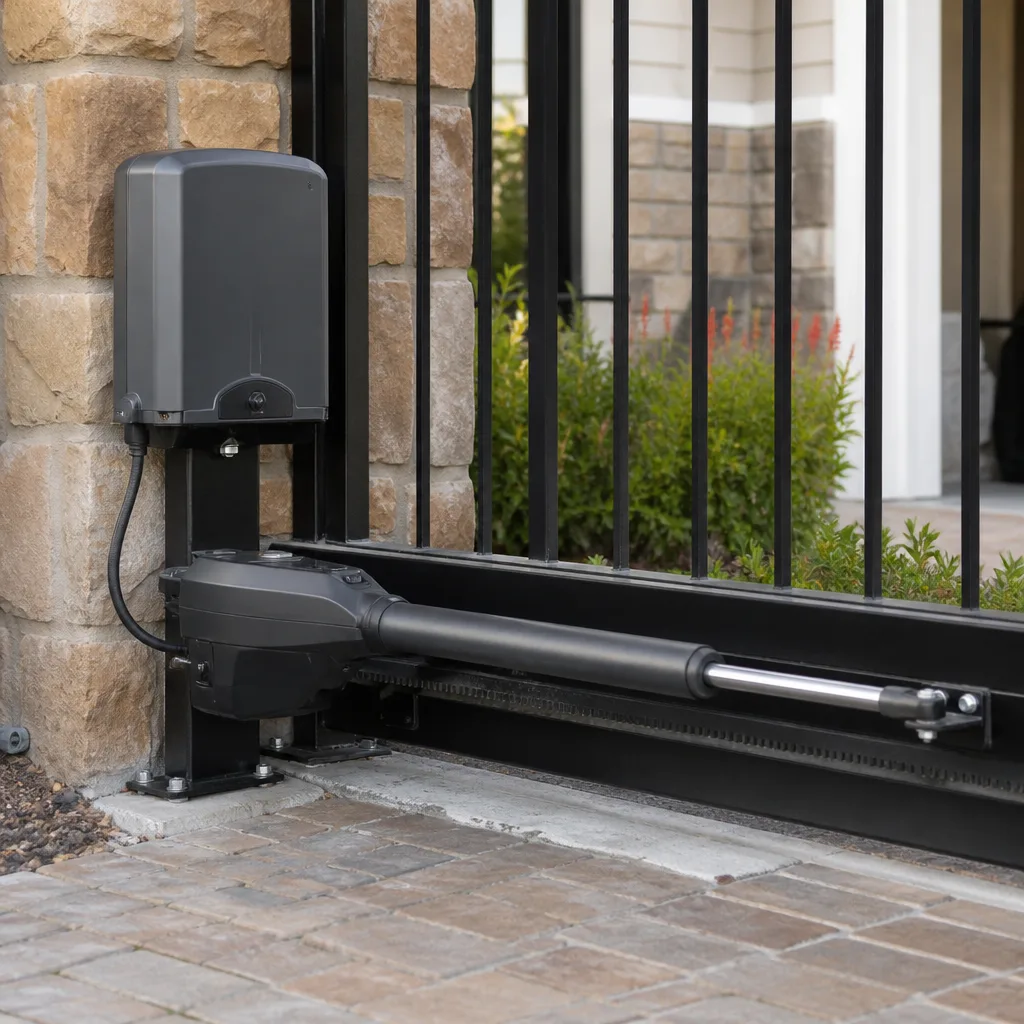 LiftMaster operators
Free on-site gate assessment - hinges, posts, and your LiftMaster or Nice gate operator checked before anything is quoted
The assessment is free and the quote is the invoice.
Get your free estimateDIY vs Professional Gate Repair: The Whittier Homeowner’s Decision Guide
Most Whittier homeowners we talk to aren’t asking whether they’re handy enough to fix a gate. They’re asking whether the specific problem in front of them is a mechanical issue or an electrical one. That distinction matters more than skill level because in California, automatic gate systems fall under UL 325 safety standards that carry real legal weight. Get the mechanical stuff wrong and you have a sagging gate. Get the electrical stuff wrong and you have an entrapment hazard, a voided warranty, and potentially a liability nightmare on your property. This guide draws the line clearly: what’s safe to tackle, what’s risky, and what belongs in the hands of a gate repair specialist.
Quick Answer
Most DIY gate repair in Whittier is safe and reasonable for mechanical issues like hinge lubrication, bolt tightening, and sensor cleaning, but any adjustment involving the operator’s force settings, control board, or safety sensors legally requires UL 325 compliance verification, which means professional hands. The real dividing line is this: if the repair involves electricity, automation, or anything that could affect how the gate stops when something is in its path, call a pro. If it’s bolts, brackets, or basic alignment, you can likely handle it yourself.
Styles & brands we work with
- Wrought iron
- Wood & steel frame
- Farm & ranch
- Sliding driveway gates
- LiftMaster operators
Table of Contents
- The Three Categories of Gate Repairs: Safe DIY, Risky DIY, Professional-Only
- What UL 325 Means for California Homeowners
- How DIY Repairs Affect Your Warranty and Insurance
- The Hidden Time Cost of DIY When Parts Aren’t at Home Depot
- Real Cost Comparison: DIY vs Professional for Five Common Repairs
- Why Whittier’s Climate and Housing Stock Change the Equation
- Common Mistakes to Avoid
- When to Call a Professional
- Frequently Asked Questions
The Three Categories of Gate Repairs: Safe DIY, Risky DIY, Professional-Only
Every gate repair falls into one of three buckets. Understanding which bucket your problem sits in is the single most important decision you’ll make before touching a wrench. Here’s the honest breakdown from years of working on gates across Whittier, La Habra Heights, and the Friendly Hills area.
Category 1: Safe DIY Repairs (Mechanical, Low-Stakes)
These are jobs where the worst-case scenario is that you have to call us anyway. They don’t touch the motor, the control board, or any safety mechanism. They’re about metal, fasteners, and basic alignment.
- Hinge lubrication – Squeaking gates on Whittier’s hillside properties usually just need lithium grease on the hinge pins. Two minutes per hinge, zero risk.
- Bolt tightening – Gate hardware loosens over time, especially on heavy iron gates that get used multiple times daily. A socket set handles most of this.
- Track cleaning – Sliding gates collect leaves, gravel, and Whittier’s share of wind-blown debris in the track. Clearing it is pure grunt work, not technical work.
- Wheel adjustment on sliding gates – If the gate drags, the guide wheels often need a simple height adjustment with a wrench.
- Signage replacement – “Keep Clear” strips and vehicle detection signs peel or fade. Replacement is a peel-and-stick job.
- Fence-post tightening around the gate frame – If the post is wobbling but not rotted or broken, tightening the bolts that anchor it is straightforward.
These repairs account for maybe 40% of the gate issues we see in Whittier. They’re the equivalent of changing your own oil. You don’t need specialized knowledge, you just need to pay attention.
Category 2: DIY With Real Risk (Borderline, Proceed With Caution)
These jobs look simple but have failure modes that can hurt you, damage the gate, or create a safety problem you won’t notice until something goes wrong.
- Replacing a gate sensor (photo-eye) – The physical replacement is plug-and-play on most LiftMaster and Mighty Mule systems, but the alignment and height placement are what make them work correctly. Mount it 2 inches too high and a small child or pet can cross the beam undetected.
- Chain tension adjustment – Too tight and you strain the motor. Too loose and the chain can jump the sprocket. Both failures happen gradually, so you won’t necessarily catch the mistake the same day.
- Gate stop replacement – The physical install is easy, but positioning needs to account for the gate’s full travel arc and any slope in your driveway. Whittier’s hills mean many driveways aren’t level.
- Battery replacement in backup systems – Straightforward on most FAAC and Elite operators, but some units require the control board to be powered down first. Skipping that step can short the board.
- Low-voltage wire splice – The splice itself is just wire nuts and heat shrink. But automotive-grade 16-gauge wire buried 3 inches deep in Whittier’s clay-heavy soil corrodes within a year. If you’re splicing, you need direct-burial wire and waterproof connectors, not whatever’s in the garage drawer.
These repairs are the gray zone. A homeowner who’s reasonably mechanical and reads the manual carefully can handle several of them. But the margin for error is thinner, and the consequences of getting it wrong start to include safety-critical failures.
Category 3: Professional-Only (Electrical, Automation, Safety-Critical)
These are the jobs we recommend no Whittier homeowner attempt, regardless of skill level or confidence. The reasons aren’t gatekeeping. They’re about UL 325 compliance, manufacturer requirements, and the fact that a mistake here doesn’t just break your gate, it can injure someone.
- Force sensitivity adjustment – This is the setting that determines how hard the gate pushes before it reverses. Set too high, and the gate becomes an entrapment hazard that fails UL 325 standards. This adjustment legally requires a technician who can verify compliance with a force gauge.
- Control board replacement or programming – On LiftMaster, FAAC, and BFT units, control boards have multiple settings for gate weight, travel limits, and safety input configurations. One wrong jumper or dip switch setting and the gate’s safety logic doesn’t function, even though the gate opens and closes normally.
- Limit switch adjustment – If the gate doesn’t stop at the right point, the limit switches need adjustment. On some brands this is a physical adjustment; on others it’s a programming parameter. Either way, it affects how the gate behaves at the end of its travel, which is exactly where entrapment happens.
- Capacitor or motor replacement – Capacitors store electrical charge even after power is disconnected. They discharge violently if handled incorrectly. Motor replacement requires shaft alignment, torque settings, and sometimes thermal overload configuration.
- Any repair that requires removing the safety edge or disconnecting photo-eyes during operation – If your “fix” involves temporarily bypassing a safety device, you’re creating a non-compliant gate. That’s a liability exposure that follows you as the property owner.
- Access control system integration – Keypads, telephone entry systems, and vehicle detectors tie into the control board’s firmware. A wiring mistake can fry the board, and board replacements run $300 to $800 for the part alone.
Here’s the pattern: Category 3 work touches the gate’s brain, its muscle, or its safety reflexes. That’s not where you want to learn by trial and error.
What UL 325 Means for California Homeowners
UL 325 is the safety standard that governs automatic gate operators in the United States. California adopted it into state law through Title 24, Part 12, and it applies to every automatic gate installed after March 2000. The standard exists because people have died from gate entrapment incidents, and the requirements are written in blood.
Here’s what most Whittier homeowners don’t realize: UL 325 doesn’t just regulate gate manufacturers. It places a legal duty on property owners to maintain their gates in a compliant condition. When you adjust the force setting on your operator to “make the gate close faster” or “fix the stalling problem,” you’re potentially creating a non-compliant entrapment hazard on your property. If someone is injured, your insurance company’s first question will be whether the gate was modified or adjusted by someone qualified.
The specific compliance requirements that affect DIY decisions:
- Entrapment protection devices – The gate must have at least two independent entrapment protection mechanisms. On most residential systems, that’s a combination of a reversing mechanism (the gate reverses when it hits an obstruction) and photo-eyes or a contact edge. Both must function correctly. Disabling either one, even temporarily, creates a violation.
- Force limit verification – The operator’s force setting must be verified with a force gauge so the gate reverses before applying dangerous pressure. Homeowners don’t own force gauges. They guess. And UL 325 exists because guessing kills people.
- Photoelectric sensor placement – Photo-eyes must be mounted at specific heights and positions relative to the gate’s travel path. In residential applications, sensors are typically mounted between 18 and 27 inches from the ground. Mount them wrong and the beam can miss a child’s body while still detecting an adult.
- Warning signage – Automatic gates require specific warning signs that meet size, placement, and content requirements. Most residential gates in Whittier don’t have compliant signage, which is its own liability issue.
- Secondary entrapment protection for certain gate types – Vertical pivot gates and some slide gate configurations require additional protection beyond the standard two mechanisms. This varies by gate type and is not something a homeowner should self-assess.
The legal reality in California is straightforward: if you adjust the safety parameters on your automated gate and someone gets hurt, the burden of proof shifts to you. You’ll need to demonstrate the gate was compliant, the adjustment didn’t compromise safety, and you were qualified to do the work. Most homeowners can’t demonstrate any of those three things.
This is why we draw the line where we do. Electric gate repair in Whittier that touches force settings, limit switches, or safety sensors is not a hobby project. It’s a regulated activity with real consequences.
How DIY Repairs Affect Your Warranty and Insurance
Here’s a scenario we see regularly: a Whittier homeowner buys a LiftMaster gate operator, installs it (or has it installed), and six months later the board fails. They open it up, poke around, replace a blown capacitor, and the board fails again the next month. They file a warranty claim. The manufacturer denies it because the unit shows evidence of unauthorized repair.
Gate operator warranties typically state something like this: “This warranty does not cover damage caused by unauthorized repairs, modifications, or adjustments.” The key word is “adjustments.” You don’t have to open the housing to void the warranty. Changing the force setting, reprogramming the travel limits, or altering the safety input configuration can constitute an unauthorized adjustment on some brands.
FAAC, BFT, LiftMaster, Elite, and most other major brands write their warranties this way explicitly. A DIY control board swap on a FAAC unit means the warranty is done, even if the swap didn’t cause the failure. The manufacturer can’t verify your workmanship, so they assume the worst.
Insurance is a separate problem. Your homeowner’s policy covers gate-related injuries under your premises liability coverage. But policies include language requiring you to maintain your property in a safe condition and comply with applicable codes and standards. If your gate injures a guest and your insurer discovers the force setting was raised by someone without training, they face a choice: defend you or deny the claim based on your failure to maintain a code-compliant gate.
Insurance companies have denied gate injury claims on exactly these grounds. The policyholder modified their gate, the modification made it non-compliant with UL 325, and the injury occurred because the gate didn’t reverse properly. The denial wasn’t punitive. It was a straightforward reading of the policy.
Professional repair changes this calculus. When a licensed gate technician adjusts your operator, the liability for the adjustment’s safety rests partially with the company that performed the work, not solely with you. That’s what you’re buying beyond the repair itself: documented, qualified work that transfers some legal risk off your shoulders.
The Hidden Time Cost of DIY When Parts Aren’t at Home Depot
Here’s the thing DIY guides never tell you: gate repair parts are not shelf items at Home Depot or Lowe’s. Walk into any big-box hardware store in Whittier and you’ll find gate hinges, maybe some generic chain, and perhaps a universal sensor kit. That’s it.
What you won’t find:
- A LiftMaster control board for your specific model (there are dozens, and none are interchangeable without programming)
- A FAAC hydraulic pump seal kit
- An Elite gate operator capacitor with the correct microfarad rating
- A Mighty Mule limit switch assembly
- A photo-eye compatible with your specific operator’s input voltage
- A BFT rack and pinion gear segment for your sliding gate
These parts come from manufacturer supply chains, specialized distributors, or gate repair companies that carry brand-specific inventory. A DIY homeowner in Whittier typically follows this timeline: diagnose the problem on Saturday, spend Sunday searching online, order a part from an unknown seller on a third-party marketplace, wait 5 to 7 business days for shipping, discover the part doesn’t fit or was mislabeled, reorder, wait again, and finally install the part three weekends after the gate first broke.
Compare that to what happens when you call a gate specialist. We arrive with the common parts for nine major brands on the truck because gate repair in Whittier is what we do every day, not a once-in-five-years project. The repair happens the same day because the part was already in inventory. Your gate spends 48 hours broken instead of 3 weeks.
There’s also the diagnostic time cost. What a trained technician recognizes in 10 minutes, a homeowner might spend 6 hours researching. The gate opens but won’t close. Is it the photo-eye, the close limit switch, a bad solder joint on the board, low voltage from the transformer, or a misaligned safety edge? A specialist knows which test eliminates which possibility in what order. The DIY path is forum threads and YouTube videos that may or may not apply to your specific brand and model.
Time isn’t free. For a Whittier homeowner whose gate is the access point for a hillside driveway or a flat Friendly Hills property, three weeks of a non-functional gate means three weeks of parking outside, moving trash bins manually, and living with reduced security. The “savings” from DIY evaporate when you account for what those three weeks cost you.
Real Cost Comparison: DIY vs Professional for Five Common Repairs
Let’s talk actual numbers. Here’s what five common gate repairs cost in the Whittier market, both as DIY projects and as professional jobs. The professional prices reflect typical ranges for a gate specialist serving Whittier, La Habra Heights, and surrounding areas. DIY prices reflect part costs plus the realistic cost of tools you’ll need but probably don’t own.
1. Hinge Replacement on a Swing Gate
- DIY cost: $45 to $140 for new hinges, depending on gate weight. Plus the cost of a floor jack or heavy-duty jack stands if you need to support the gate during the swap ($60 to $120). Total: $105 to $260.
- Professional cost: $180 to $350 including parts and labor.
- DIY savings: $75 to $90, most of which is eaten by tool costs if this is a one-time project.
- Cost of doing it wrong once: A dropped gate warps the frame or bends the hinges, turning a $300 repair into a $900 gate replacement.
2. Photo-Eye Replacement
- DIY cost: $35 to $90 for a compatible sensor pair. Most homeowners own a screwdriver. Total: $35 to $90.
- Professional cost: $125 to $250 including the part, alignment, and testing.
- DIY savings: $90 to $160.
- Cost of doing it wrong once: Misaligned sensors either fail to detect obstructions (safety hazard) or throw false triggers that prevent the gate from closing. You’ll likely call a pro to fix the alignment, paying the full professional rate anyway.
3. Control Board Replacement
- DIY cost: $280 to $600 for the correct board for a LiftMaster, FAAC, Elite, or Mighty Mule operator. Plus programming time and risk. Total: $280 to $600.
- Professional cost: $450 to $950 including the board, programming, and full system testing.
- DIY savings: $170 to $350 on paper.
- Cost of doing it wrong once: A wiring error fries the new board. You buy a second board and you’re now at $560 to $1,200, which exceeds the professional price. And the warranty on the first board is void because you installed it yourself.
4. Chain Tension Adjustment on a Slide Gate
- DIY cost: $0 if you own a wrench set. Maybe $20 for a new tensioner bolt if the existing one is stripped.
- Professional cost: $95 to $180 as a standalone service call, or bundled with other maintenance.
- DIY savings: $75 to $180.
- Cost of doing it wrong once: An over-tightened chain burns out the motor bearings, turning a $150 adjustment into a $700 motor replacement.
5. Capacitor Replacement
- DIY cost: $15 to $45 for the capacitor, assuming you match the microfarad rating exactly. Plus the cost of a discharge tool if you’re smart ($10). Total: $25 to $55.
- Professional cost: $120 to $200 including diagnosis and verification that the capacitor was the actual problem.
- DIY savings: $95 to $145.
- Cost of doing it wrong once: Discharging a capacitor incorrectly delivers a painful shock and potentially damages the control board. Diagnosing the wrong component means you replace the capacitor, the gate still doesn’t work, and you’ve spent money without solving the problem.
The honest read: DIY savings on the five most common repairs average roughly $125 per job. That’s real money, and for mechanical repairs like hinges and chain tension, the risk is low enough that DIY makes sense for a careful homeowner. But for control board work, motor components, and anything involving safety calibration, the “savings” represent a bet that you won’t make a mistake. And when that bet goes wrong, the correction cost is 2 to 4 times the original professional price.
Why Whittier’s Climate and Housing Stock Change the Equation
Whittier isn’t a generic suburb. Its geography and building stock affect how gates fail and what repairs cost. Anyone offering gate advice that ignores local context is giving you half an answer.
First, the hills. Whittier’s hillside neighborhoods, the areas up around Skyrose Drive and Michigan Park, put gates on sloped driveways. A sloped driveway means your gate operator works harder every cycle because it’s fighting gravity. Motors burn out faster. Hinges wear unevenly. Slide gates on incline need more frequent chain tension adjustments. The DIY guides that assume a flat, level installation don’t apply to a large portion of Whittier.
Second, the soil. Whittier sits on clay-heavy soil that expands and contracts with moisture. Gate posts set in clay shift over time, which misaligns hinges, throws off sensor alignment, and changes the geometry of the whole gate. That’s why a gate that worked perfectly last year starts binding this year. The fix isn’t always a new part; sometimes it’s resetting the post and re-aligning the system, which requires understanding how the soil is behaving on your specific property.
Third, the housing stock. Whittier has a significant number of homes built between 1940 and 1980, and many of those properties have gates installed in the 1990s and 2000s that are now reaching the end of their service life. A 20-year-old FAAC operator or an early LiftMaster slide unit is not the same machine as a 5-year-old unit. Parts become scarce. Wiring insulation degrades. Operators that were code-compliant when installed may no longer meet current UL 325 standards. Repairing these older systems often requires judgment calls that DIY research can’t prepare you for.
Fourth, the amount of daily use. Whittier families use their gates constantly: commuting to LA, picking up kids from school, running errands up Colima Road and around the Quad. A gate that cycles 20 times a day wears differently than one that cycles 20 times a week. That usage pattern means maintenance intervals matter more, and small problems that get ignored turn into big ones faster.
None of this means Whittier homeowners can’t handle DIY gate maintenance. It means the local conditions are less forgiving of mistakes. A misaligned gate on a flat driveway might limp along for months. A misaligned gate on a Whittier hillside will tear itself apart in weeks.
Common Mistakes to Avoid
- Adjusting force settings to “fix” a stalling gate – When a gate stalls mid-travel, the problem is usually mechanical: worn wheels, low battery, or a misaligned track. Raising the force setting doesn’t fix the underlying problem, it just pushes the gate through it while creating an entrapment hazard. You’ve traded a repair for a liability.
- Using WD-40 on gate hardware – WD-40 is a water displacement product, not a lubricant. It cleans briefly, then dries out and leaves metal surfaces more prone to wear. Gate hinges and chains need lithium grease or a dedicated lubricant designed for heavy load-bearing metal.
- Buying universal parts online without checking compatibility – “Universal” gate parts are rarely universal. Photo-eyes, limit switches, and capacitors have specific voltage ratings, connector types, and compatibility ranges. A part that’s wrong for your Mighty Mule unit might physically install but not function, or worse, function intermittently.
- Bypassing the photo-eyes instead of fixing them – When sensors fail, some homeowners jump the sensor wires to make the gate close. The gate “works,” but you now have an automatic gate with no entrapment protection. That’s not a repair; that’s turning your gate into a hazard with a sign that says “automatic.”
- Ignoring the gate’s warning signs for months – Gates rarely fail suddenly. The scraping sound, the intermittent non-response from the remote, the gate pausing mid-travel: these are diagnostic signals. Waiting until the gate fails completely turns a $150 sensor replacement into a $700 motor replacement.
- Attempting board-level repairs without a multimeter or schematic – Control boards don’t provide much visual feedback. Without a multimeter and a schematic, you’re essentially guessing. And guessing on a $400 board is an expensive way to learn electronics.
- Assuming your gate is “just old” when a new part didn’t fix the problem – Age is rarely the actual problem. Gates fail for specific, diagnosable reasons. If a new part didn’t fix it, the diagnosis was wrong, not the gate’s spirit.
When to Call a Professional
Call a gate professional when the repair involves electricity, automation logic, safety sensors, or anything you’d need to disable to work on the gate safely. Call when the gate makes new sounds you can’t identify, when it stops responding intermittently, when it reverses unexpectedly, or when it fails to stop at the correct travel limits. Call when you need a part you can’t find, when the manual’s instructions involve programming procedures you don’t recognize, or when the gate has injured someone or nearly has. Capitol Gate Repair offers free estimates in Whittier, so calling is not a financial commitment, it’s a diagnostic shortcut. You’ll learn what’s wrong, what it costs to fix, and whether the work is something you could reasonably handle yourself. For repairs beyond your comfort level, our technicians work exclusively on gates, covering electric gate repair, mechanical repair, and full installation across major brands including LiftMaster, FAAC, Elite, and Mighty Mule. Call (866) 321-3968 for a straight answer, not a sales pitch.
Frequently Asked Questions
Yes, if the repair is purely mechanical, like hinge lubrication, bolt tightening, or track cleaning. No, if the repair involves the operator’s force settings, limit switches, control board, or safety sensors, because those components fall under UL 325 compliance requirements and legally require a trained technician in California to verify.
Never attempt DIY repairs on force sensitivity adjustments, control board replacement or programming, limit switch configuration, motor replacement, capacitor replacement, or any work that requires bypassing safety devices. These jobs involve electrical shock risk, entrapment hazards, or manufacturer warranty invalidation, and repairs done wrong can create liability for you as the property owner.
Professional gate repair in Whittier typically ranges from $95 to $180 for minor adjustments and service calls, $125 to $250 for sensor and safety device replacement, and $450 to $950 for control board replacement. The Capitol Gate Repair home has free estimates on all repair work, so you’ll know the exact price before any work begins.
Yes, in most cases. LiftMaster, FAAC, Elite, and Mighty Mule warranties exclude damage from “unauthorized repairs, modifications, or adjustments,” and many brands treat a homeowner’s force setting change or board swap as unauthorized work. If the gate needs warranty service after you’ve opened the operator housing or adjusted the programming, the manufacturer can deny the claim.
Installing a new automatic gate is not a DIY job for most homeowners. Proper installation involves concrete work for posts, precise alignment of the gate leaf, electrical runs, control board programming, safety sensor placement, and UL 325 compliance verification. Gate installation in Whittier is a multi-trade job that requires specialized equipment and code knowledge. A manual garden gate is more realistic for a skilled homeowner, but an automated system is professional territory.
If your gate fails to reverse when it contacts an obstruction, doesn’t stop at its proper travel limits, opens or closes unexpectedly, or has photo-eyes that are misaligned or disconnected, it’s a safety hazard. Any of these conditions means the gate is not UL 325 compliant and needs professional evaluation before further use, especially if children or pets live on or visit your property. For urgent situations, review our Gate Repair Emergency Preparedness Guide for Whittier Homes.
The Bottom Line
The DIY versus professional gate repair decision isn’t about how handy you are. It’s about what kind of failure you’re facing. Mechanical problems respond well to homeowner attention: lubrication, tightening, cleaning, and basic alignment are legitimate DIY territory. Electrical and automation problems don’t, because they involve safety systems regulated by UL 325, manufacturer warranties that void on unauthorized work, and failure modes that can injure someone. In Whittier, where hillside driveways, clay soil, and heavy daily use make gates work harder than average, the margin for error is even thinner. Be honest about which category your problem falls into. If it’s mechanical, grab the wrench. If it’s electrical, call (866) 321-3968 and get a free estimate from someone who works on gates every single day.
Written by the team at Capitol Gate Repair, serving Whittier since 2013.
See the difference
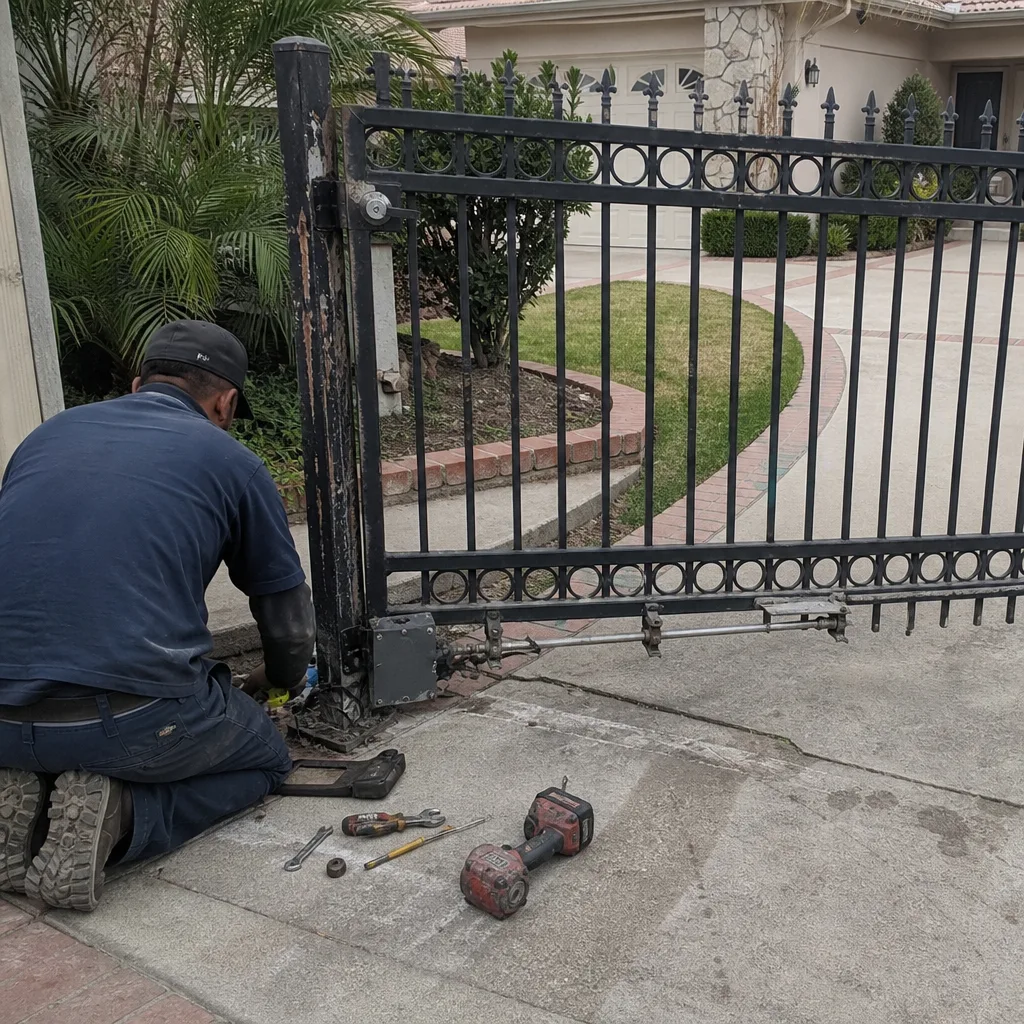
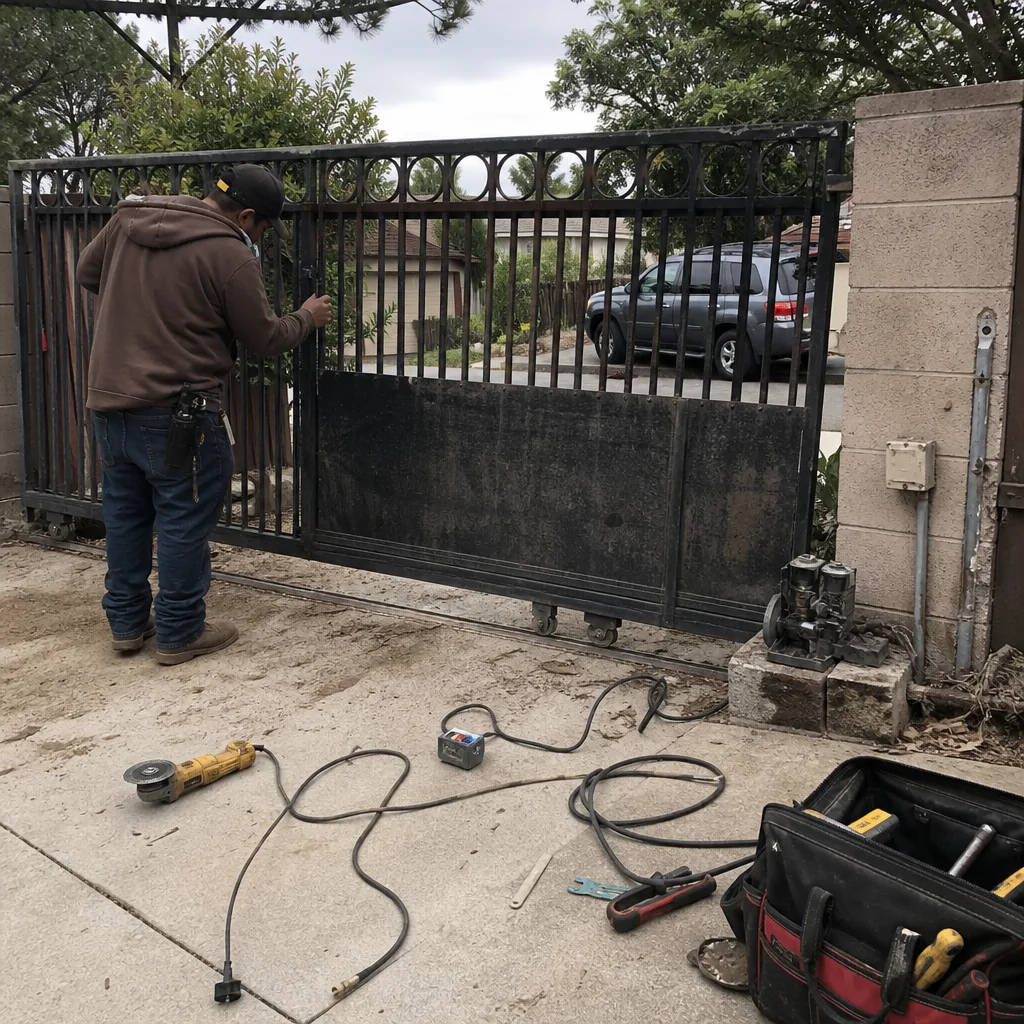 Before
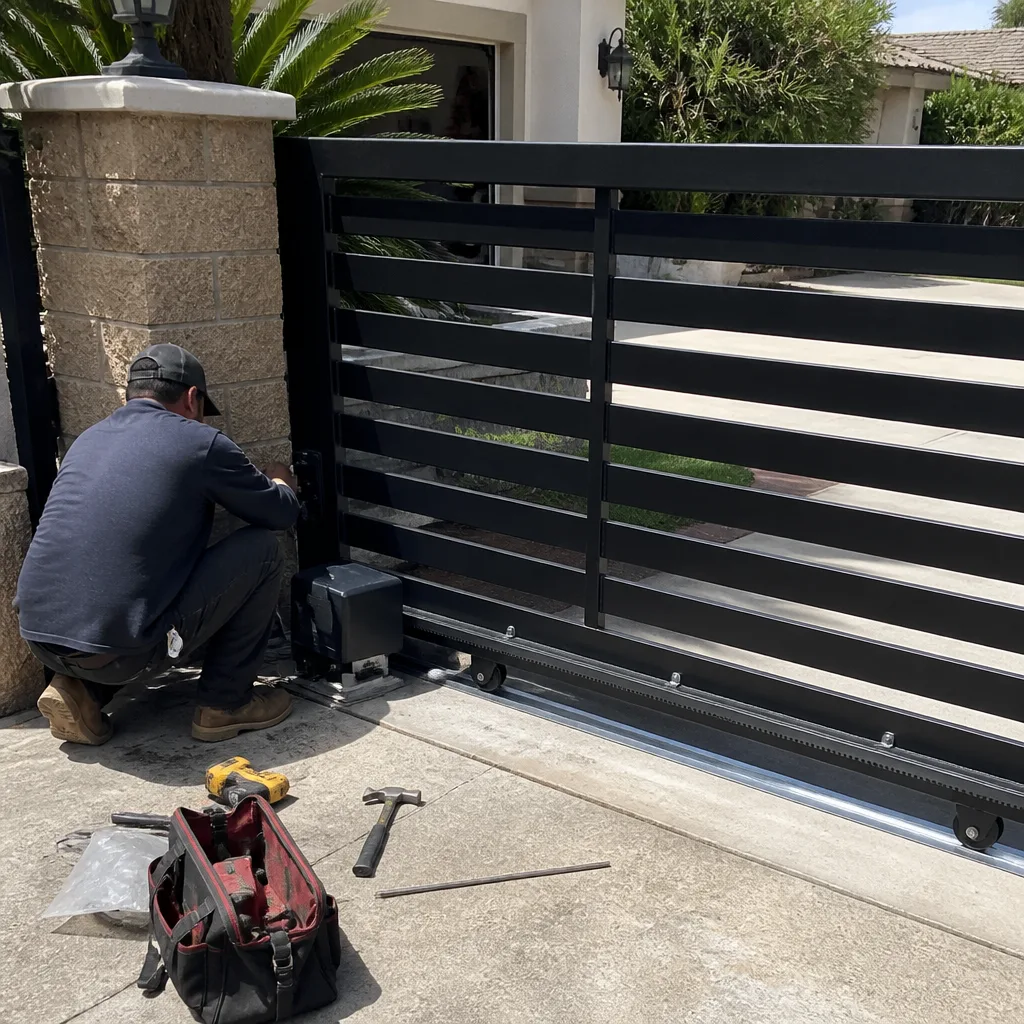
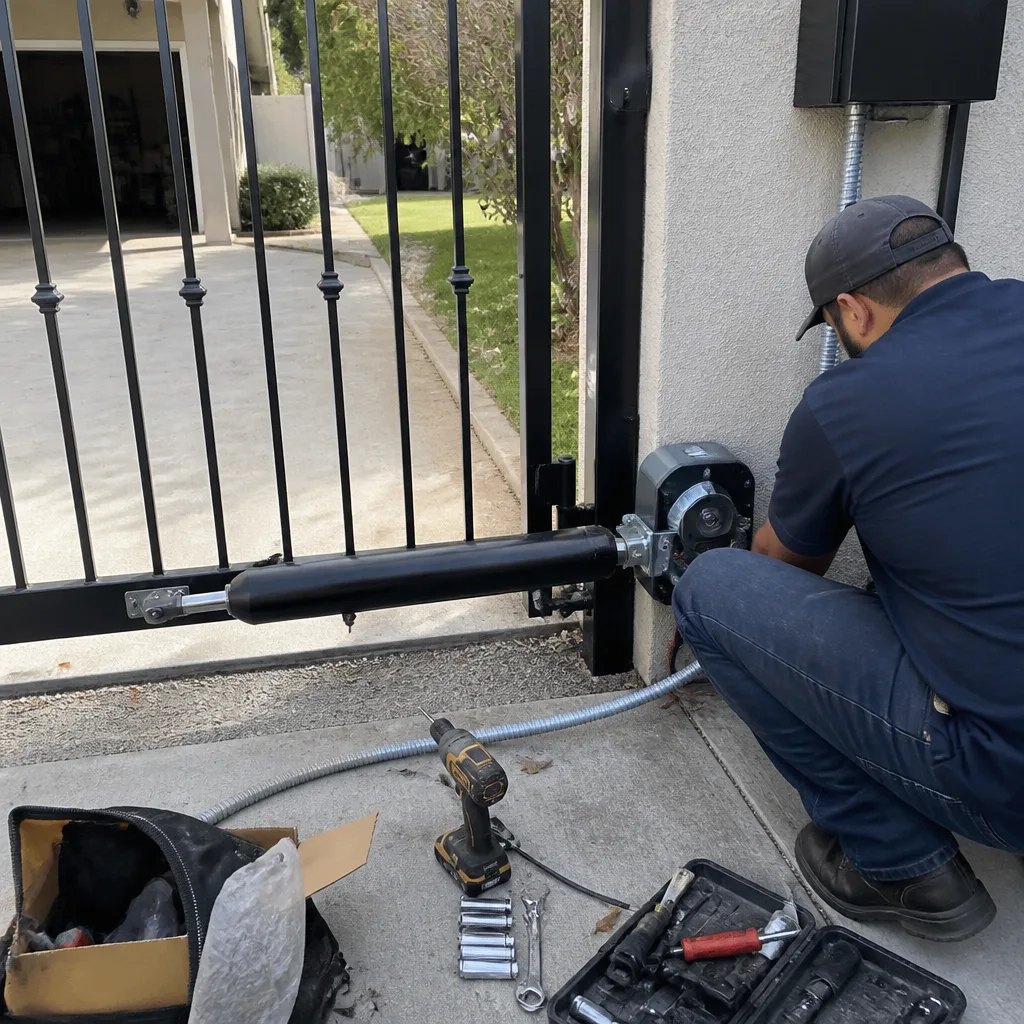 After
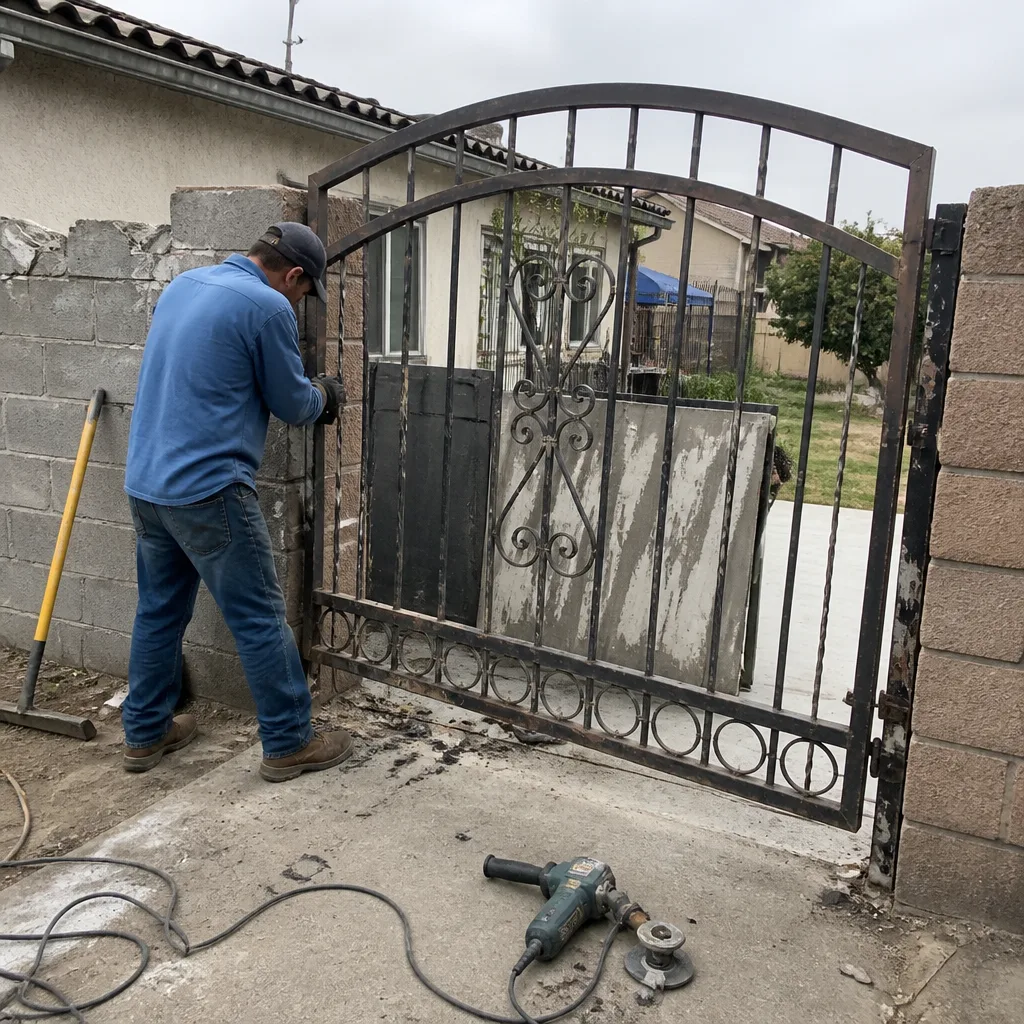 Before
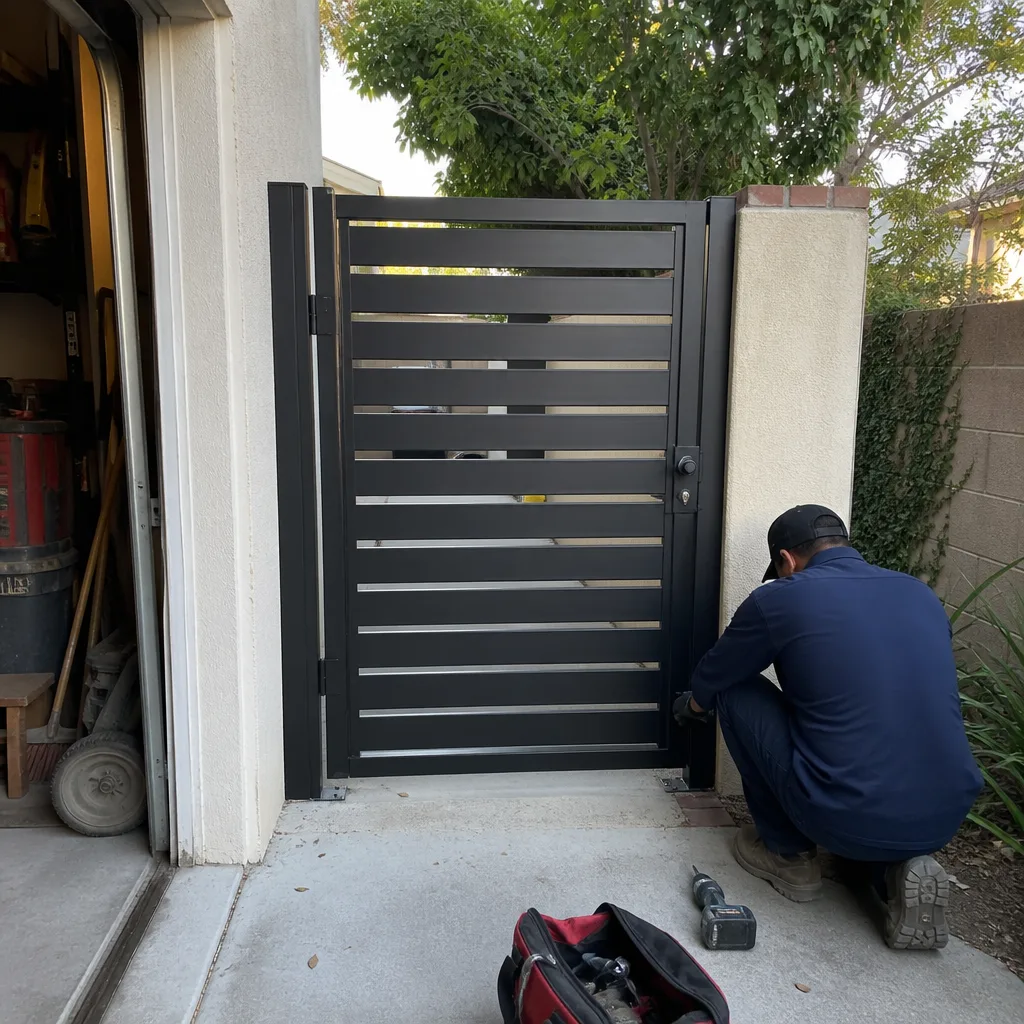 After
 Before
 After